VMware, the famend virtualization platform, has now made the Workstation Professional app out there as a free product, that means anybody can obtain, set up, and use the Hypervisor app on Home windows 11, 10, Linux, and macOS for private functions.
In case you ever needed to create a digital machine to run preview builds of Home windows 11 or one other working system like Linux alongside your important setup with out resourcing to a dual-boot configuration, you had been restricted to the VMware Workstation Participant providing. This providing was restricted to working just one digital machine at a time and didn’t provide many options in comparison with the Professional model. Then again, you may even have Oracle’s VirtualBox, however once more, it’s not as highly effective because the VMware Workstation Professional providing.
The information now could be that VMware has introduced that it’s making its Workstation Professional and Fusion Professional out there free of charge for private use for Home windows, Linux, and macOS customers.
According to the company, business licensing will proceed to be out there, however it will likely be as much as customers to resolve if a business subscription is required. Acquiring the bits to put in VMware Workstation Professional would require registering on the Broadcom web site after which downloading and putting in the Hypervisor app in your pc.
On this information, I’ll stroll you thru the steps to obtain and set up the VMware Hypervisor on Home windows 11 or 10.
Obtain VMware Workstation Professional free of charge
To register and obtain the VMware Hypervisor in your pc, use these steps:
-
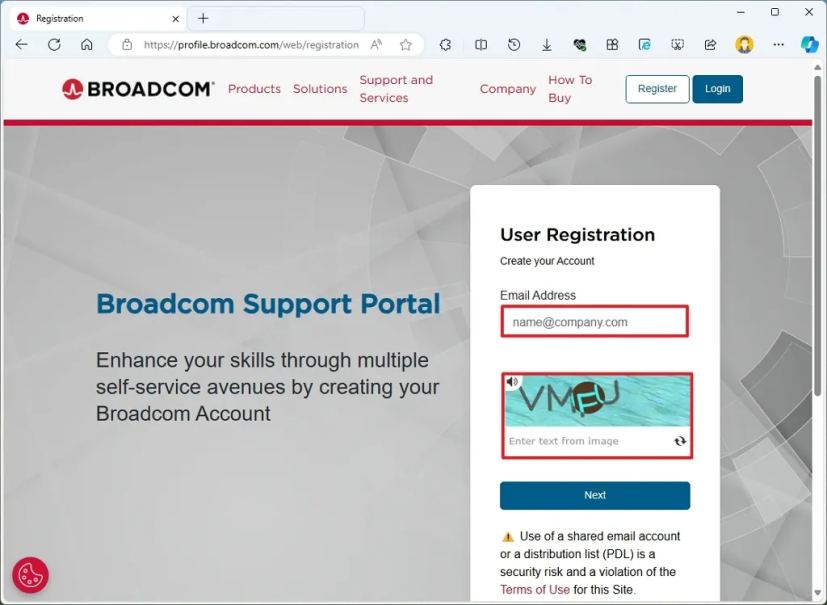
Open the Broadcom Register page.
Fast notice: In case you’re a registered member, click on “Help Portal” from the top-right nook and click on the “Go To Portal” button. -
Affirm your electronic mail and full the human verification course of.
-
Click on the Subsequent button.
-
Affirm the verification code.
-
Click on the “Confirm & Proceed” button.
-
Full the required data.

-
Click on the Create Account button.
-
Click on the “I’ll do it later” button.
-
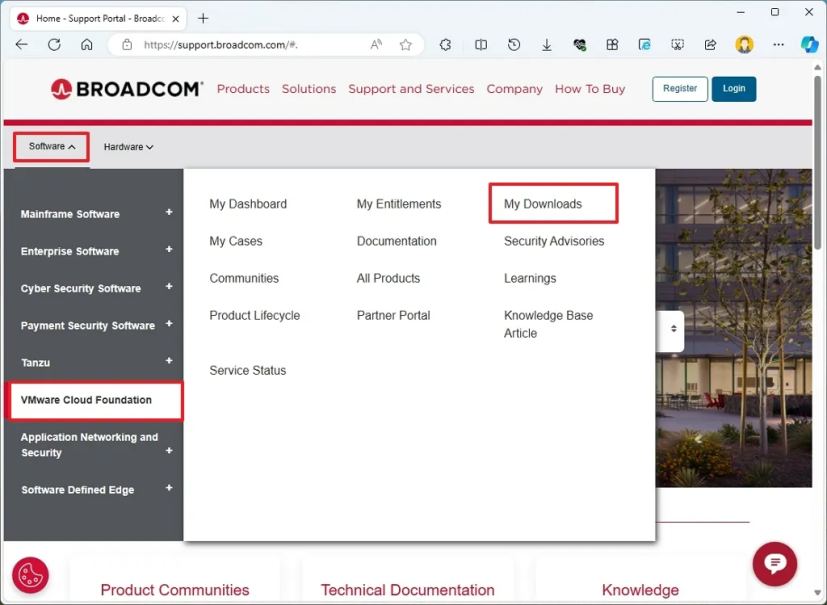
Open the Software program menu, select VMware Cloud Basis, and click on on My Downloads.
-
Click on on VMware Workstation Professional from the suitable facet.
-
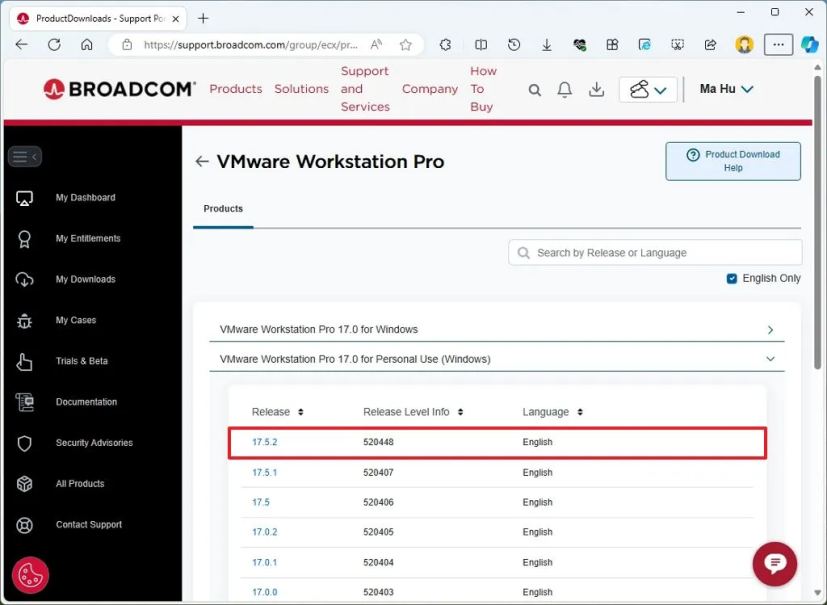
Click on the “VMware Workstation Professional 17.0 for Private Use (Home windows)” choice.
-
Click on the most recent model out there, for instance, 17.5.2.
-
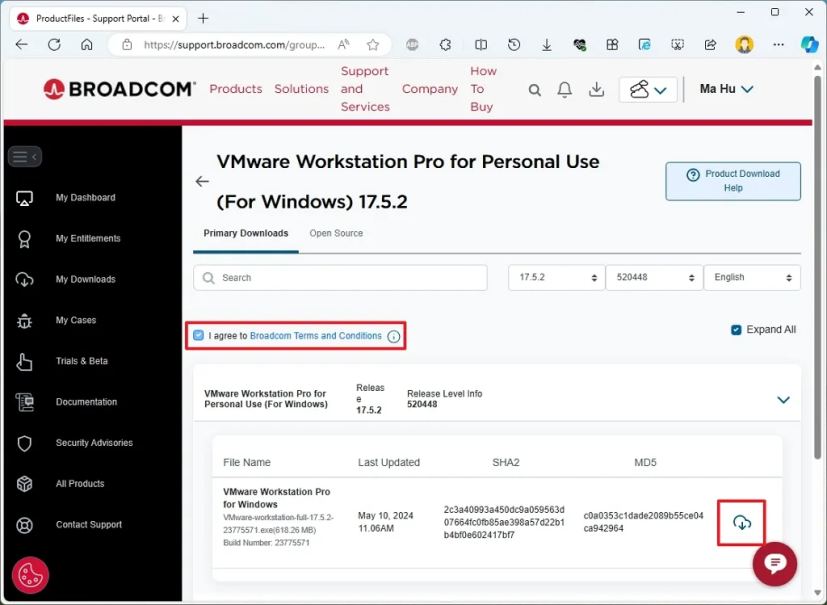
Verify the “I agree” choice to make the installer downloadable.
-
Click on the Obtain button.
-
Click on the Sure button.
-
Click on the Submit button to finish the commerce compliance verification.
-
Click on the Obtain button once more (if relevant).
When you full the steps and the protocol, the VMware installer will obtain it to your pc.
Set up VMware Workstation Professional on Home windows
To put in VMware Workstation Professional on Home windows 11 or 10, use these steps:
-
Open File Explorer.
-
Open the installer location.
-
Double-click the VMware Workstation full executable file.
-
Click on the Subsequent button.
-
Verify the I settle for choice.
-
Click on the Subsequent button.
-
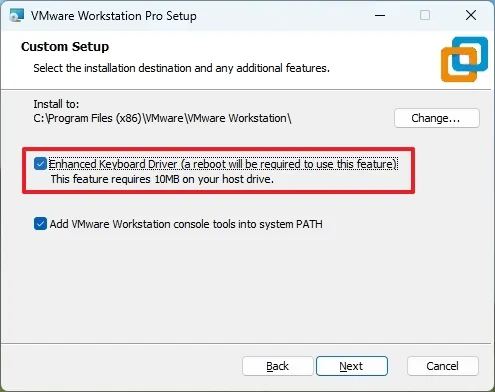
Verify the “Enhanced Keyboard driver” choice.
-
Verify the “Add VMware Workstation console instruments into the system PATH” choice.
-
Click on the Subsequent button.
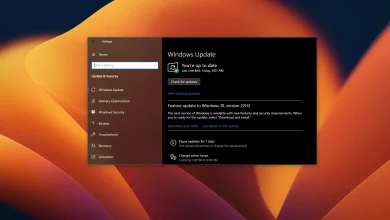
-
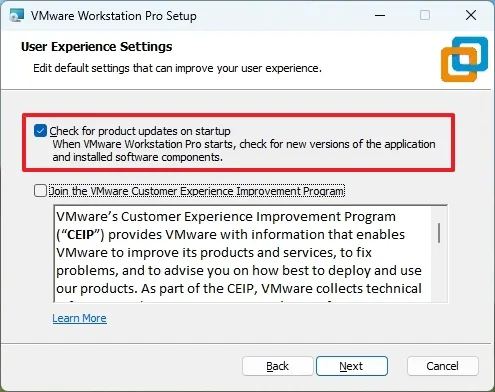
(Non-obligatory) Verify the “Verify for product updates on startup” choice.
-
(Non-obligatory) Clear the “Be a part of the VMware Buyer Expertise Enchancment Program” choice.
-
Click on the Subsequent button.
-
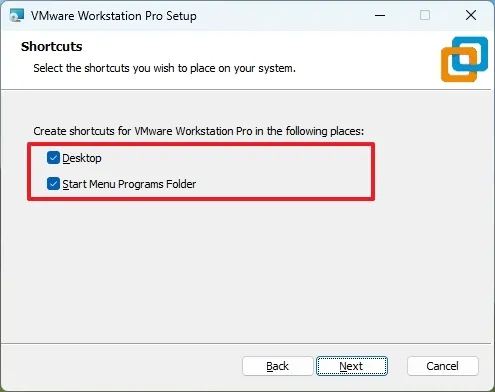
Verify the Desktop choice.
-
Verify the “Sart Menu Applications Folder” choice.
-
Click on the Subsequent button.
-
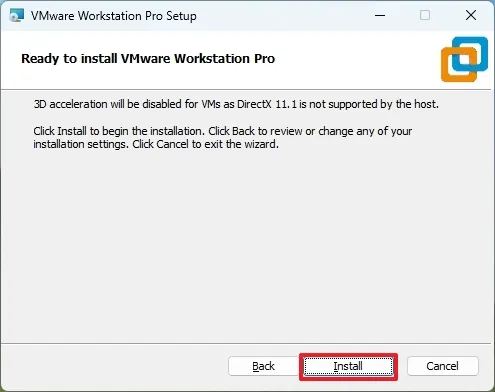
Click on the Set up button.
-
Click on the End button.
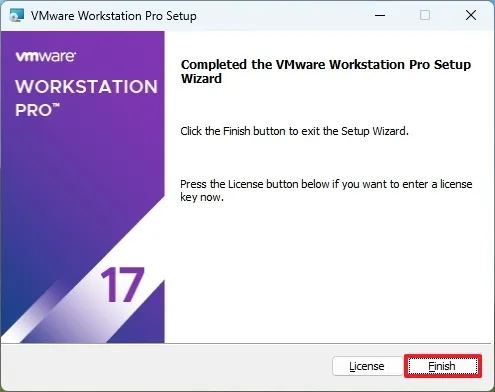 Fast notice: For the reason that app is now free, you don’t need to enter a product key.
 -
Click on the Sure button to restart the pc.
-
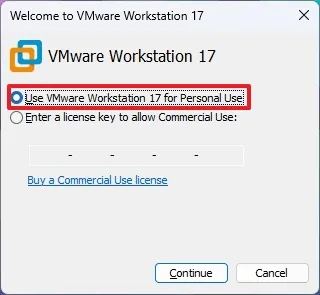
Select the “Use VMware Workstation 17 for Private Use” choice.
-
Click on the Proceed button.
-
Click on the End button.
After you full the steps, the pc will restart to complete the set up, after which you can begin creating digital machines for Home windows 11, 10, Linux, and different working programs.
As a part of the {hardware} and software program necessities, to put in Workstation Professional, the pc has to have Home windows 10 or 11, a suitable multi-core 64-bit (x86) processor of 1.3GHz or increased, 4GB of RAM (increased higher), and 1.2GB of space for storing.
Additionally, it’s a good suggestion to create and retailer digital machines on secondary drives and never within the major system drive to stop efficiency influence.
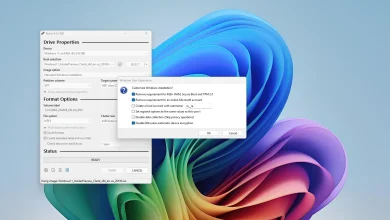
It’s beneficial to disable Hyper-V on Home windows 11 (or 10) as it could trigger issues and conflicts with VMware Workstation Professional. Moreover, ideally, you solely wish to have just one Hypervisor put in in your pc.
Lastly, be certain that to have {hardware} virtualization turned on within the BIOS/UEFI earlier than the set up.
In case you beforehand had the Participant model of VMware, you solely need to uninstall the app and set up the Professional model.
What virtualization Hypervisor are you utilizing? Do you may have any questions? Let me know within the feedback.