Voice communication is important in multiplayer games like Valorant, allowing you to communicate effectively and strategize your next move. However, it can be frustrating when the voice chat feature stops working on Valorant. This problem can arise for various reasons, including lack of administrative privileges and misconfigured Windows settings.
If you can’t hear the group voice chat in Valorant, this is where you need to be. We are going to explore different ways to fix valiant voice chat or microphone not working on Windows 11. Let’s get started.
1. Run VALORANT with administrative rights
Multiplayer games like Valorant require administrative permissions to run properly on Windows PC. When you do not provide these permissions, the game can encounter various issues.
So, launch Valorant with administrative permissions and check if it solves the problem. Here’s how to do it:
Step 1: Press the Windows Home key to open the Start menu .
Step 2: Type Valorant in the search bar and choose Run as administrator from the left pane.
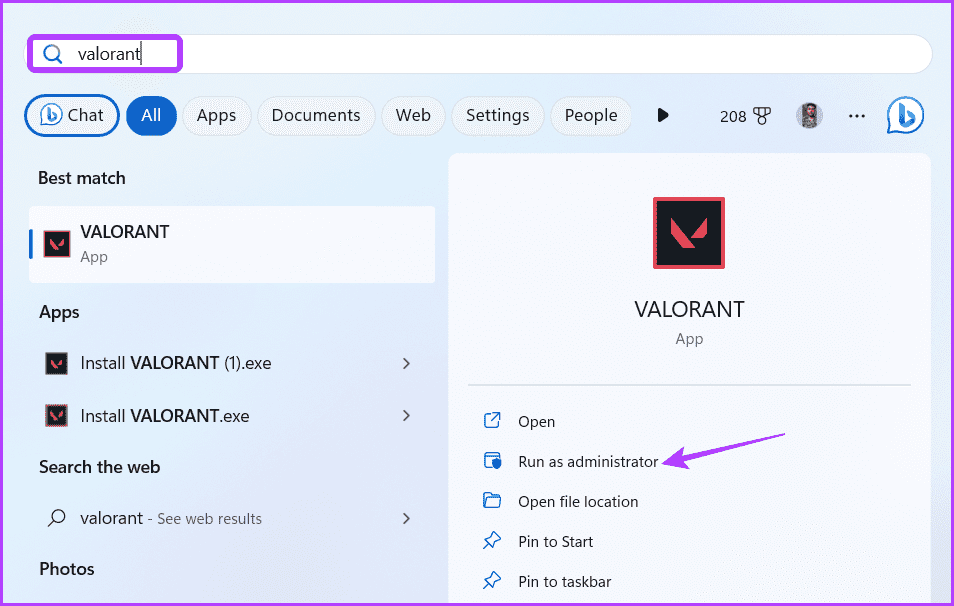
Valorant will now open with admin rights. Check if you can use the voice chat feature. If not, try the next solution in the list.
2. Allow VALORANT to access your microphone
In Windows, you can manually configure which applications can access your computer’s microphone. If you do not have Valorant’s permission to use your computer’s microphone, the in-game voice chat feature will not work.
You will have to allow Valorant to access your microphone to solve the problem. Here’s how to do it:
Step 1: Press the Windows + I keyboard shortcut to launch the Settings app .
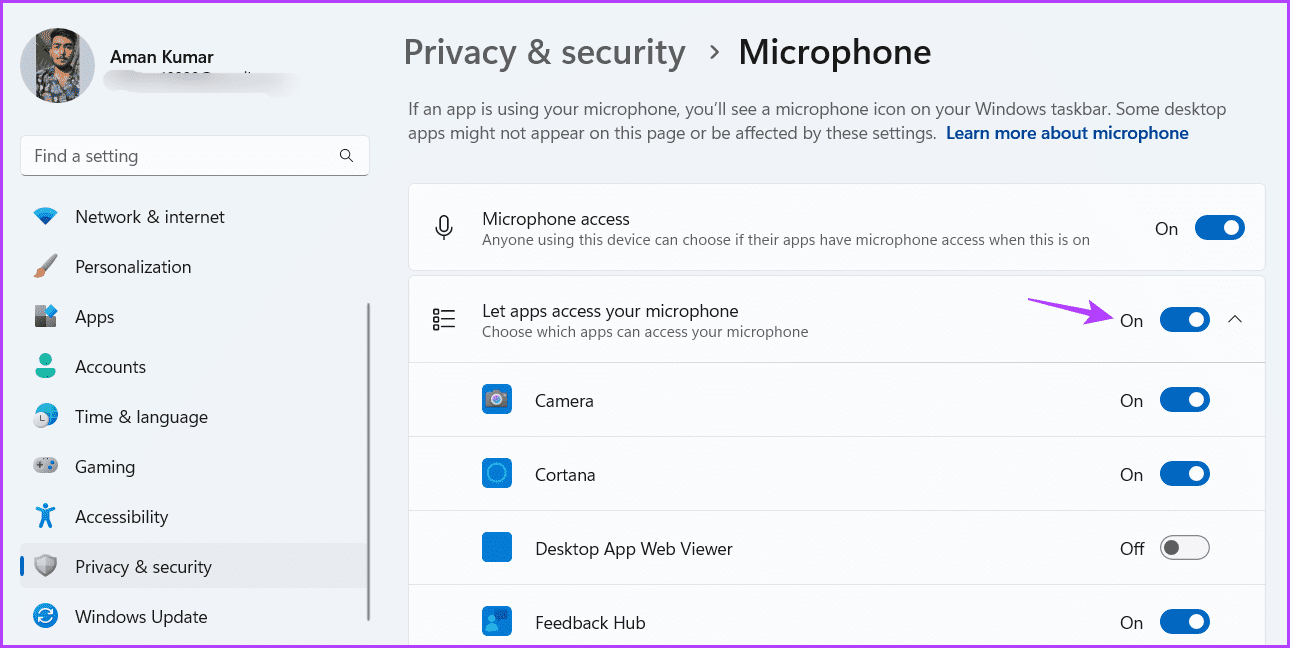
Step 2: Choose ‘Privacy and Security ‘ from the left sidebar and then click on the Microphone option in the left pane.
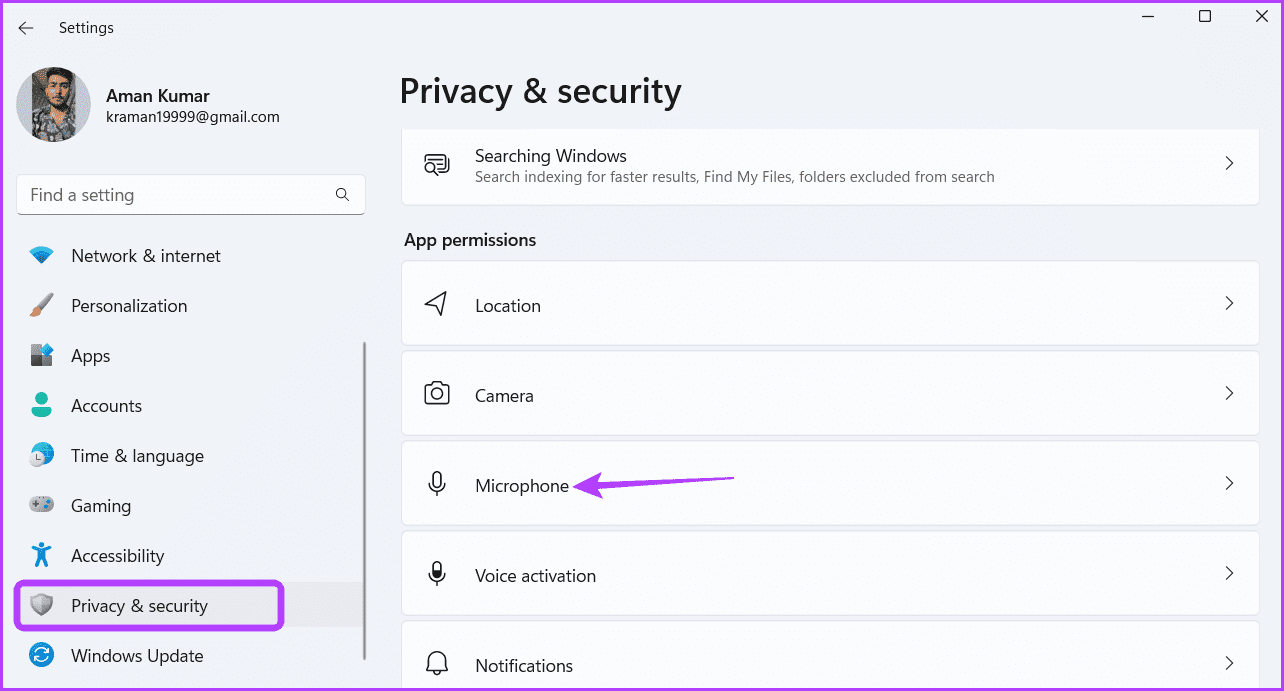
Step 3: Enable the toggle next to Allow apps to access your microphone.
After that, restart your computer and check if the problem persists.
3. Change VALORANT sound settings
One of the main reasons why Valorant’s voice or microphone may not work can be incorrect audio settings. To resolve this issue, make the following changes in Valorant audio settings:
Step 1: Press the Home windows key to open the start menu, type Valorant and choose Run as administrator from the left pane.
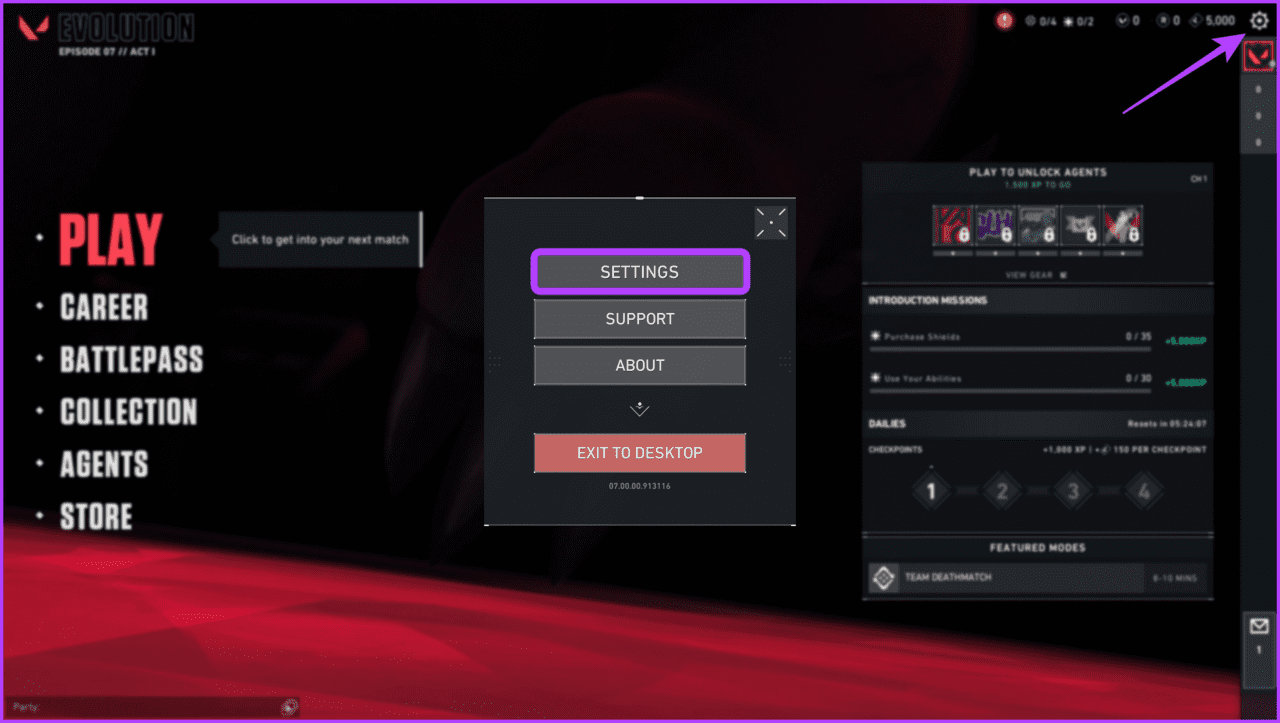
Step 2: Click the gear icon in the upper-right corner. Then choose Settings from the menu that appears.
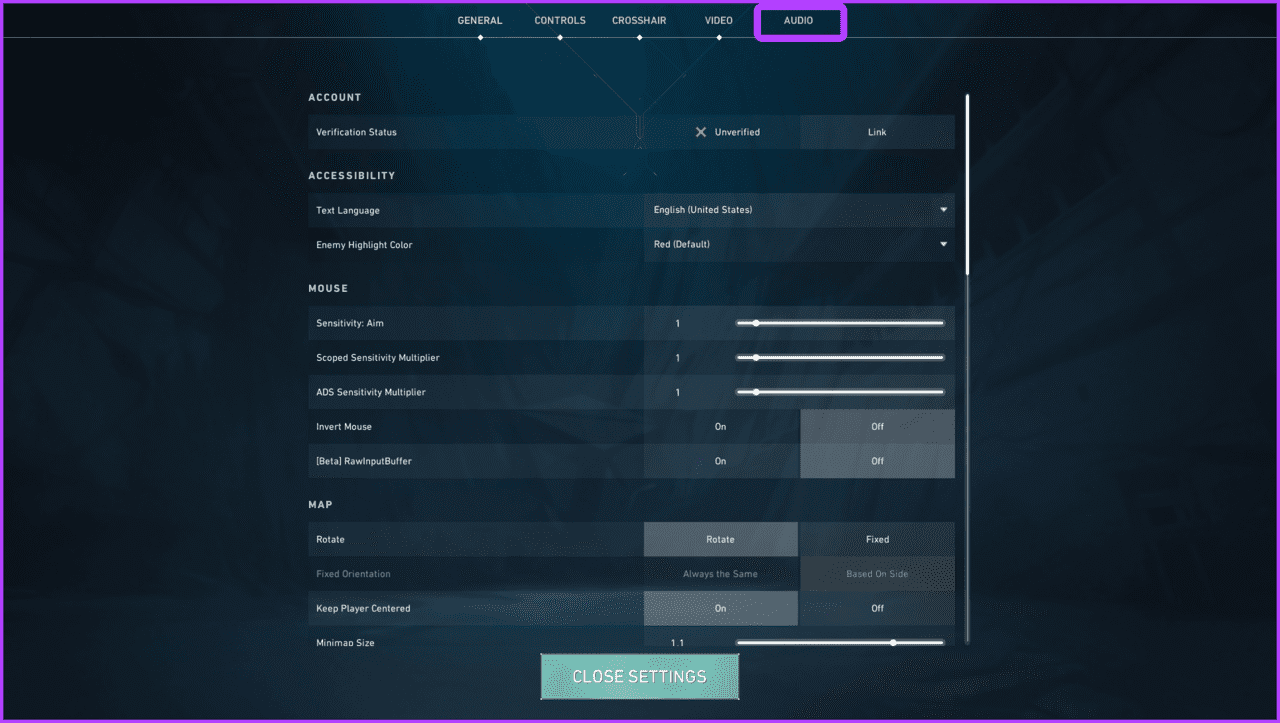
To Step 3: Switch to the Audio tab.
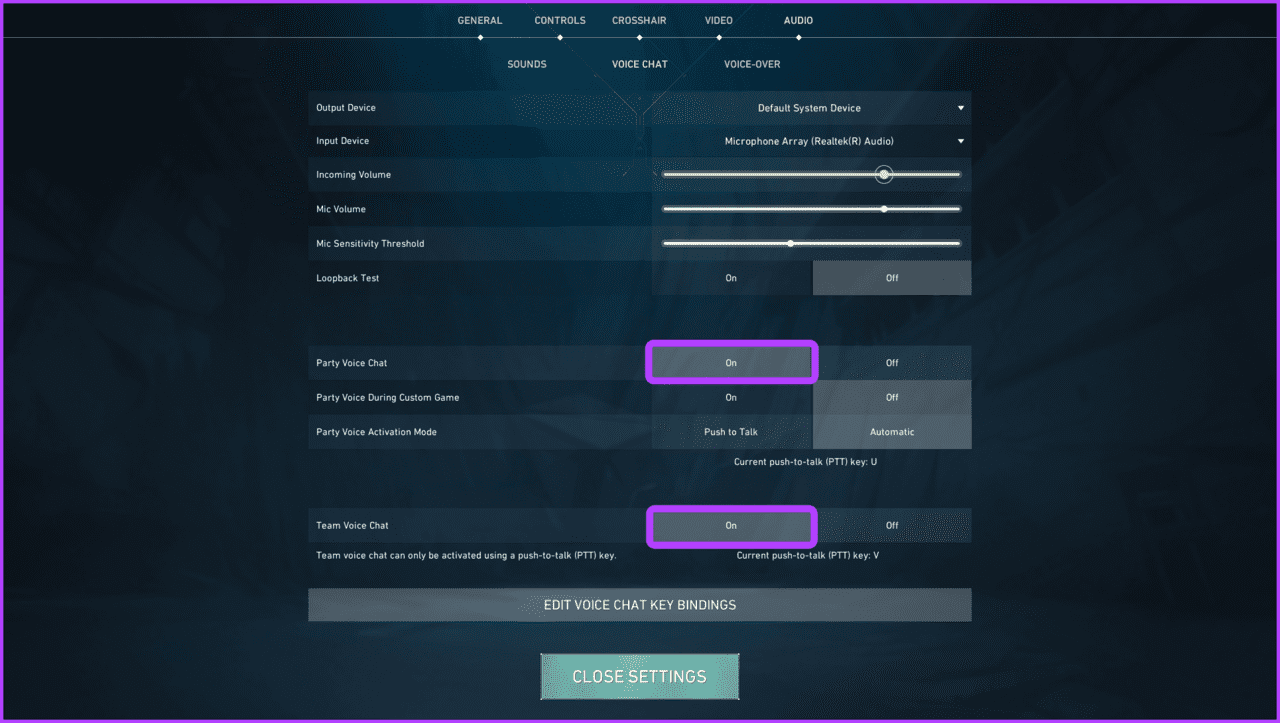
Step 4: Click on Voice Chat. Then select your default input device from the Input Device drop-down list.

Step 5: Enable the “Party Voice Chat”, “ Custom Game Party Audio” and “ Team Voice Chat” options.
After that, restart the game to check for the problem.
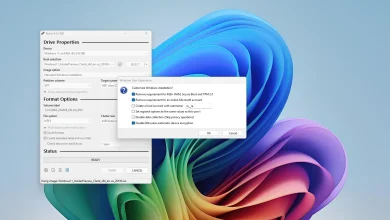
4. ALLOW VALORANT TO RUN THROUGH WINDOWS FIREWALL
If you still can’t hear the team voice chat in Valorant, make sure that Valorant is allowed to run through the Windows Firewall. Here’s how to check:
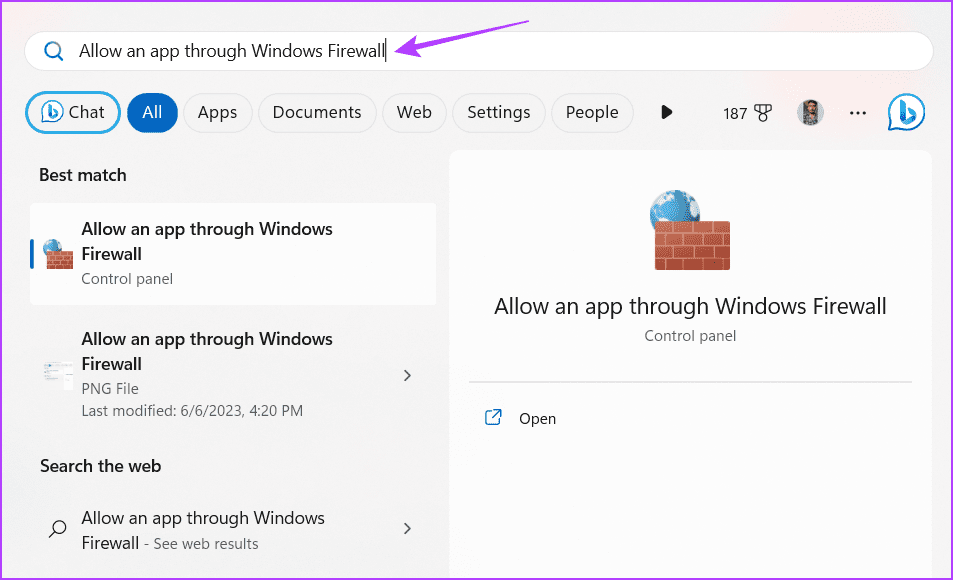
Step 1: Press the Home windows key to open the start menu , type ‘ Allow an app through Windows Firewall’ , and hit Enter.
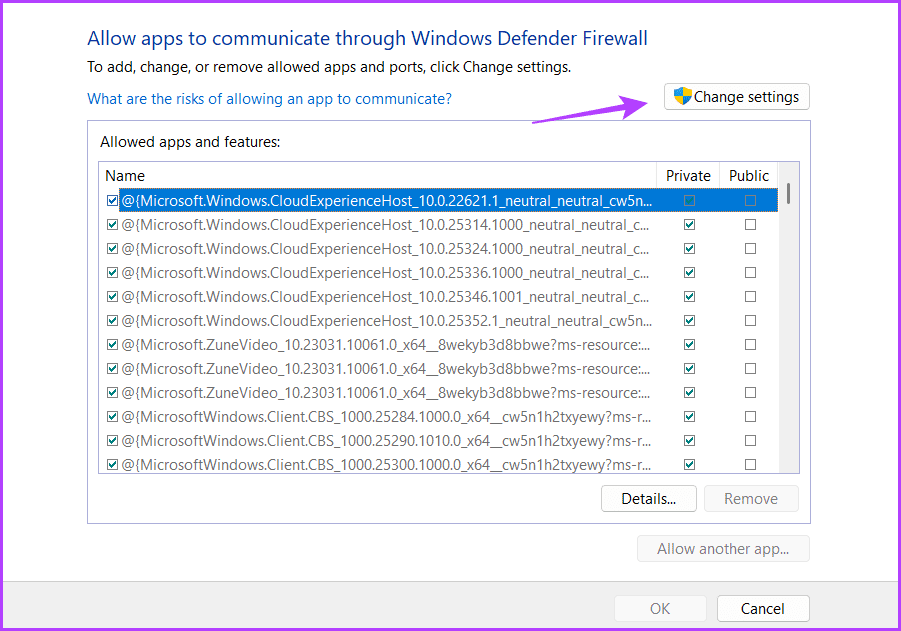
Step 2: Click on the Change settings button .
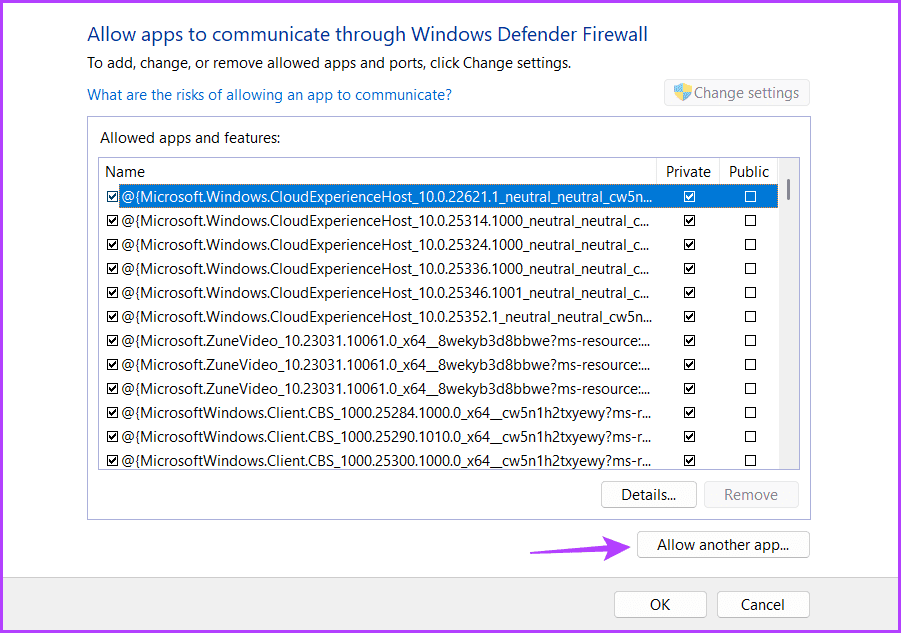
Step 3 : Click on the Allow another app button.
Step 4: Click on Browse .
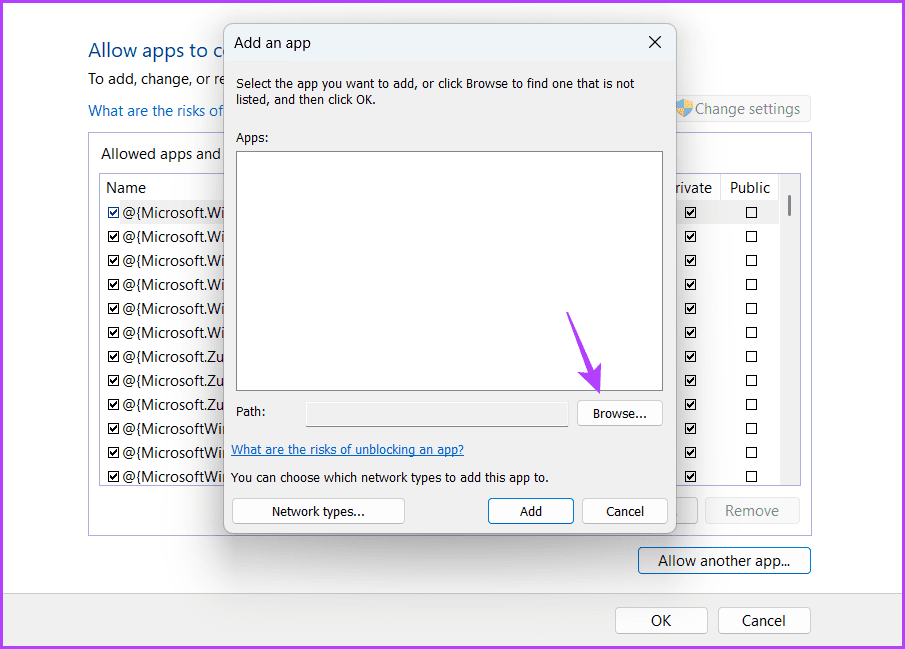
Step 5: Paste the following address into the file name box and click Open.
C:Riot GamesVALORANTliveVALORANT.exe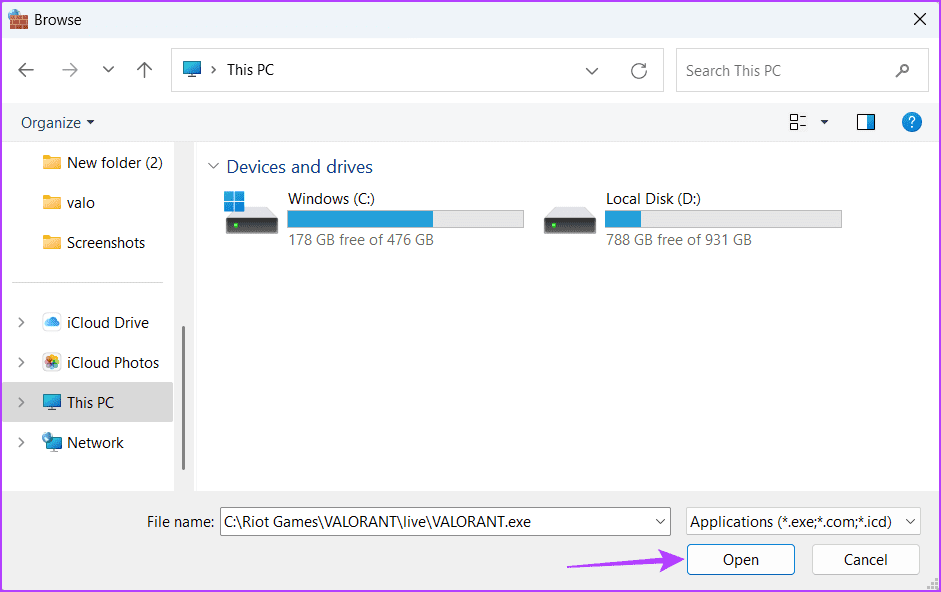
To Step 6: Click Add .
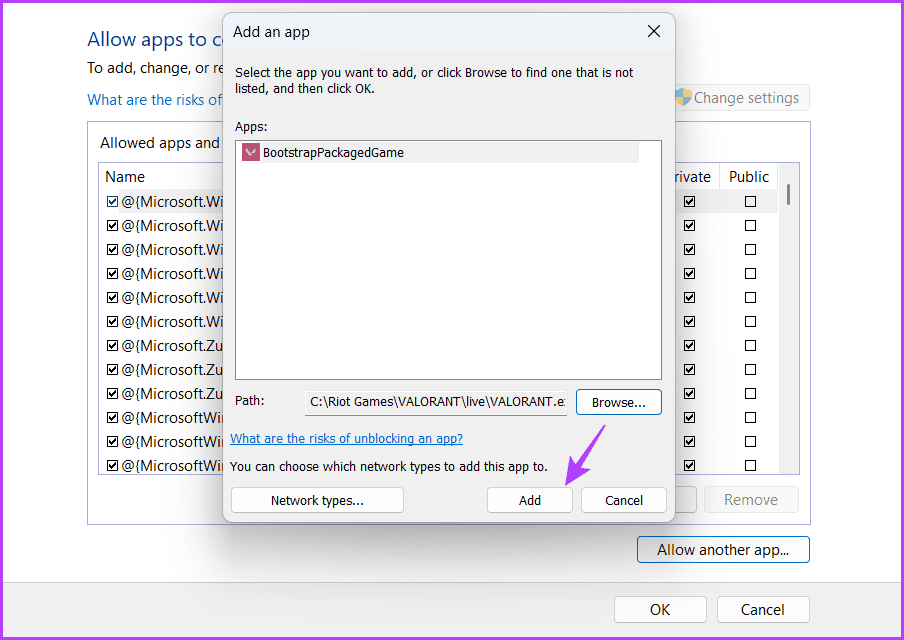
Step 7: Check the Private and Public boxes for BootstrapPackedGame.
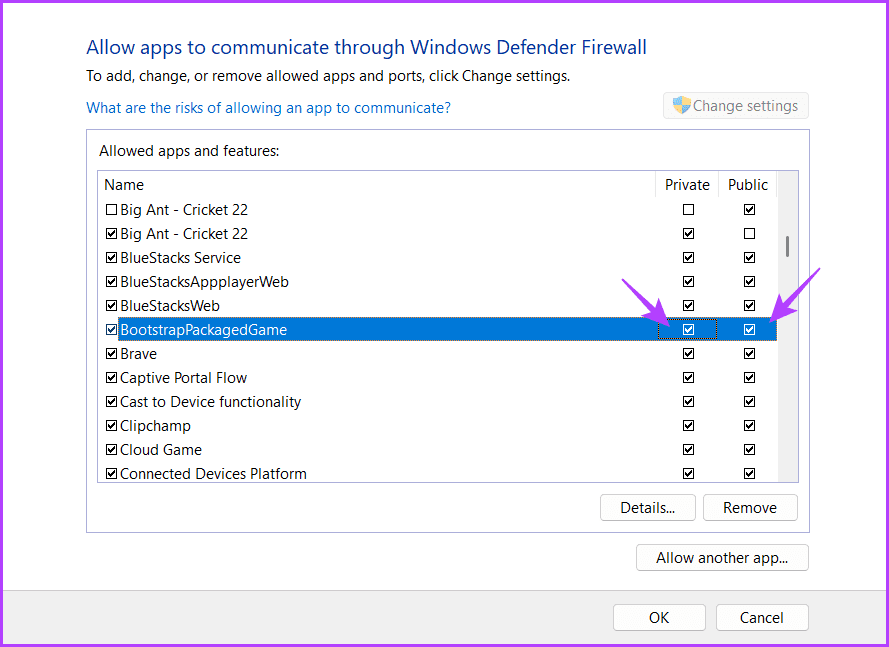
Step 8: Click on Allow another app again.
To Step 9: Click Browse .
Step 10: Paste the following address into the file name box and then click Open .
C:Program FilesRiot Vanguardvgc.exeStep 11: Click on Add .
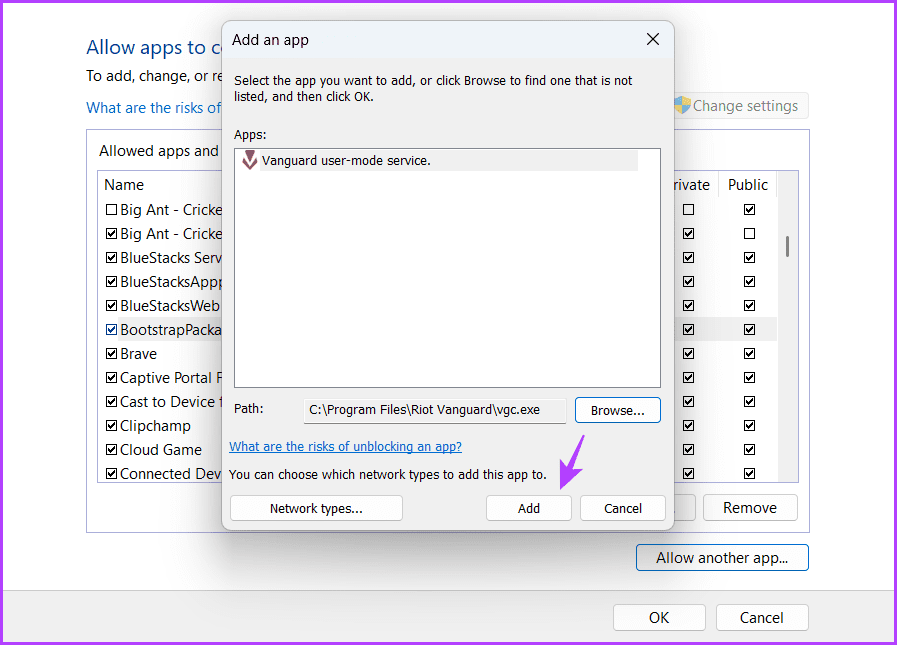
To Step 12: Check the boxes for Private and Public for the Vanguard User Mode Service.
5. Start the VALORANT game coordinator service
The Valorant Recreation Coordinator (VGC) is an important service that needs to be turned on in order for the voice chat feature to function properly in Valorant. To check the status of this service and enable it if necessary, follow the steps below:
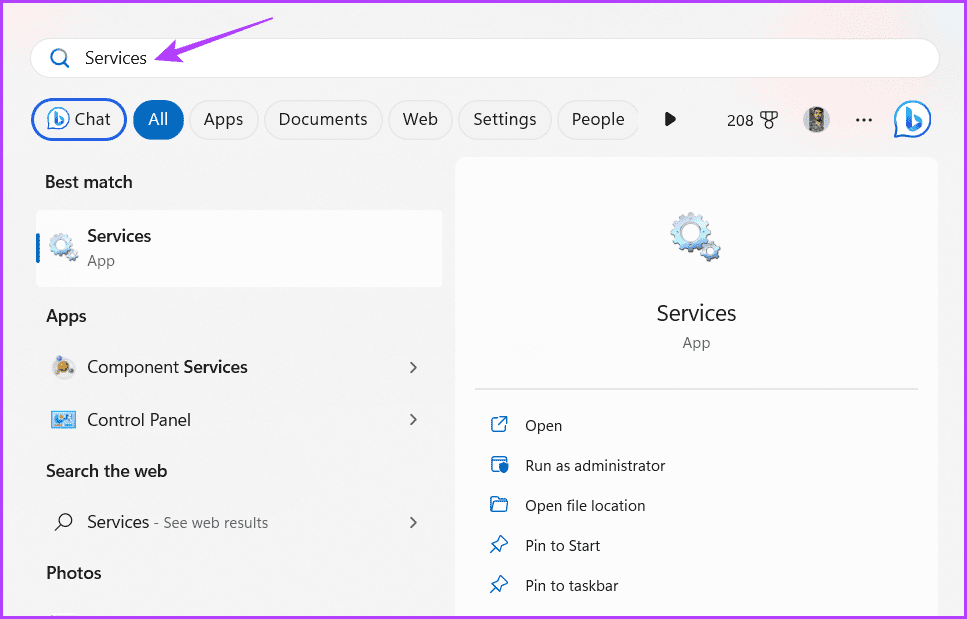
Step 1: Press the Home windows key to open the start menu, type services , and hit Enter.
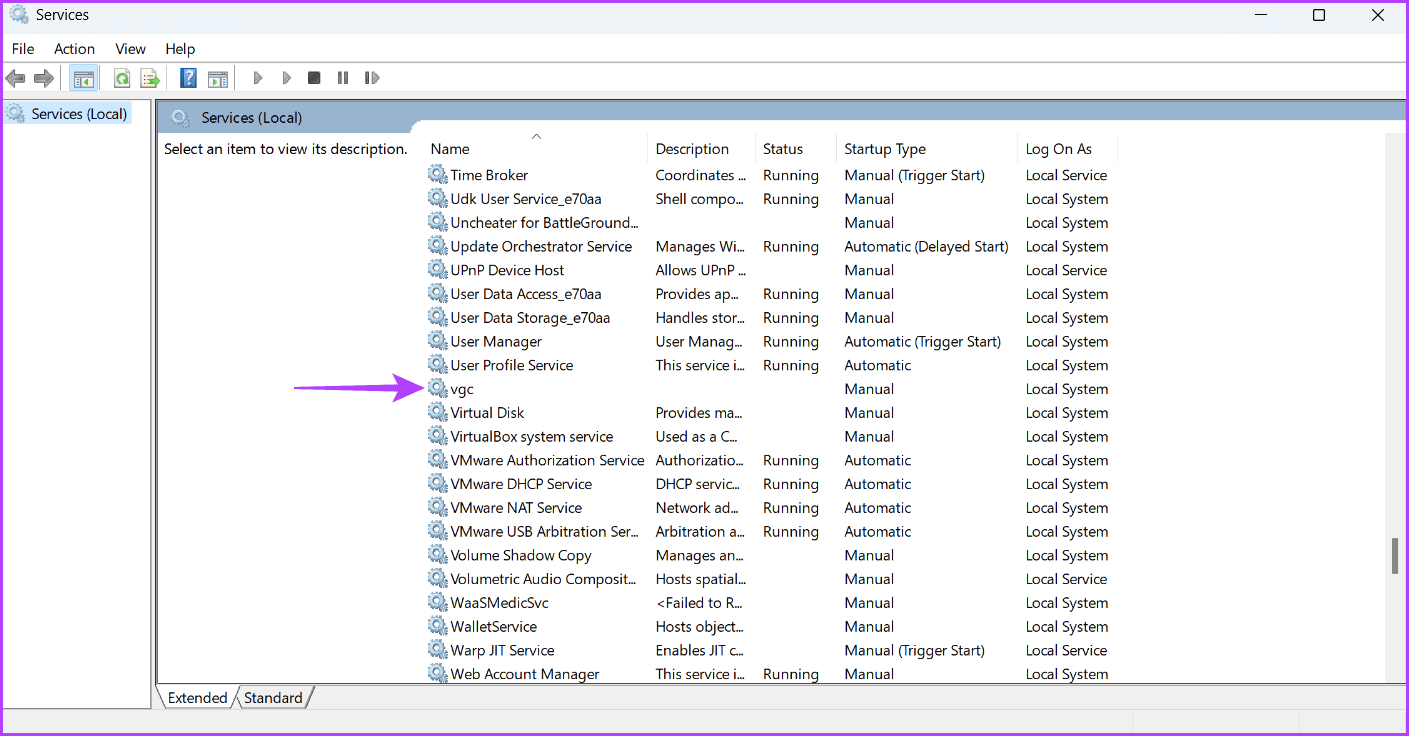
Step 2: In the Services window , scroll down to vgc service and double click on it.
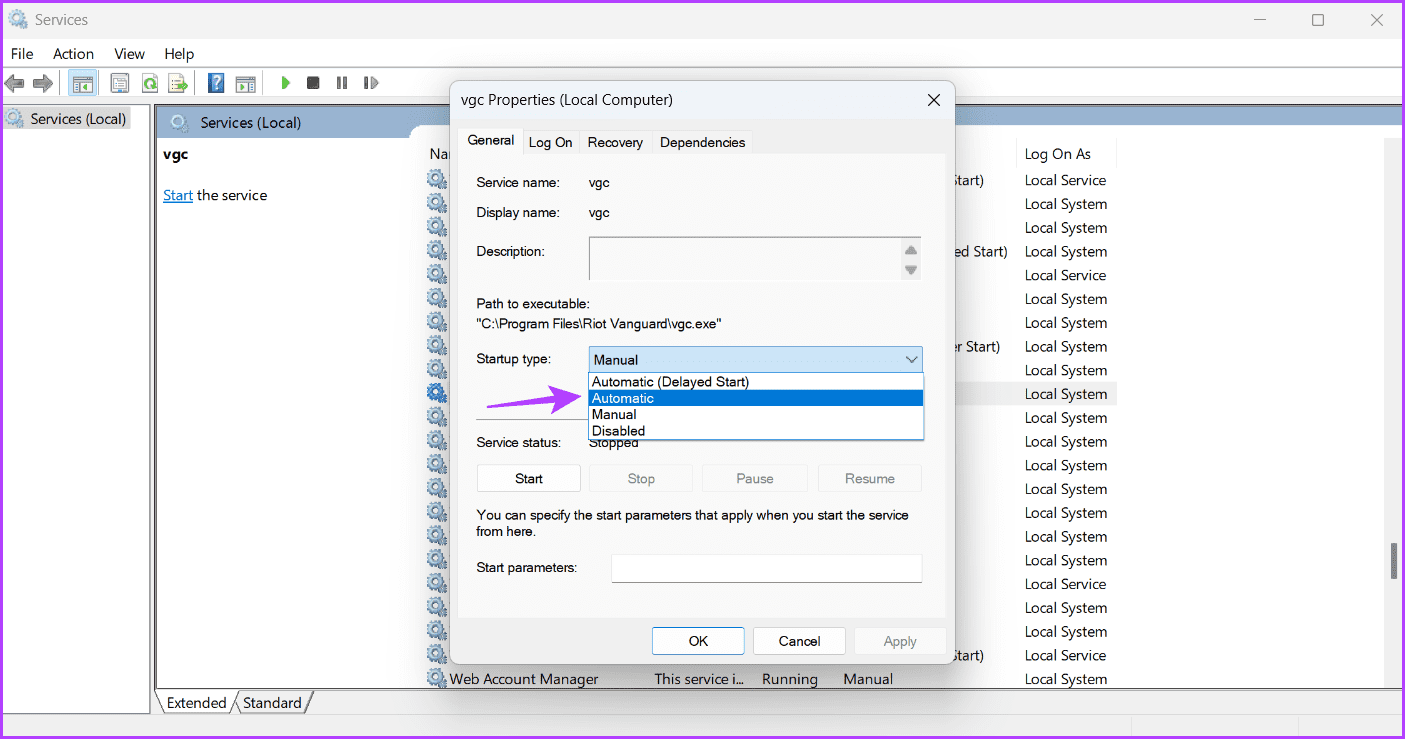
To Step 3: Choose Automatic from the Startup type drop-down list.
Step 4: Click on the Start button .
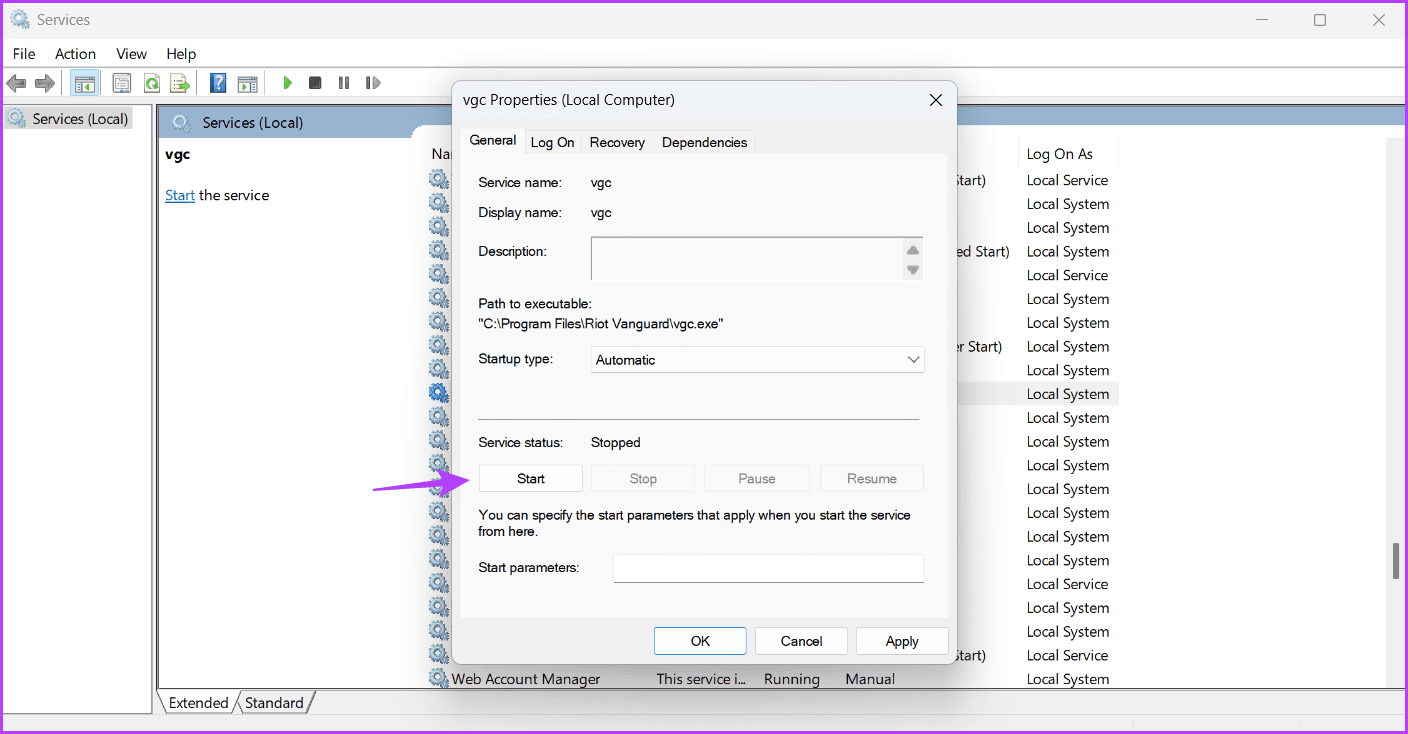
Step 5: Click Apply and then OK .
If Services window fails to launch, refer to our post When Services Not Opening on Windows 11.
Smooth communication in VALORANT
Supremacy on the battlefield is not just about accurate aim and quick reflexes. You must coordinate regularly with your teammates to win the battle. However, this is only possible if the valiant voice chat or microphone is not working. Fortunately, you can quickly troubleshoot this issue using the above solutions.