How to change drive letter using PowerShell on Windows 10
On Windows 10, when you connect an internal or external drive to your computer, the system assigns a drive letter automatically to identify the logical partition inside the hard drive.
A drive letter (or device letter) can be any letter from the English alphabet, excluding the letter “C,” as it’s reserved for the main drive that contains the operating system. Although the assignment process happens automatically, sometimes Windows might try to assign a letter already in use, preventing the new drive from appearing on File Explorer.
If you run into this problem or simply want to change the drive letter for any reason, Windows 10 offers multiple ways to complete this configuration, but using PowerShell is perhaps one of the most reliable ways to assign a new drive letter.
In this guide, I will explain the steps to change the drive letter using the PowerShell command-line console on Windows 10. (These steps should also work on Windows 11 and higher releases.)
Change drive letter using PowerShell on Windows 10
To change the drive letter through PowerShell commands, use these steps:
-
Open Start on Windows 10.
-
Search for PowerShell, right-click the result, and select the Run as administrator option.
-
Type the following command to identify the hard drive you want to change the letter and press Enter:
Get-Disk
-
Type the following command to view the partitions and letters for a specific drive and press Enter:
Get-Partition -DiskNumber 1
In the command, update “1” to the disk number of the drive to change.
-
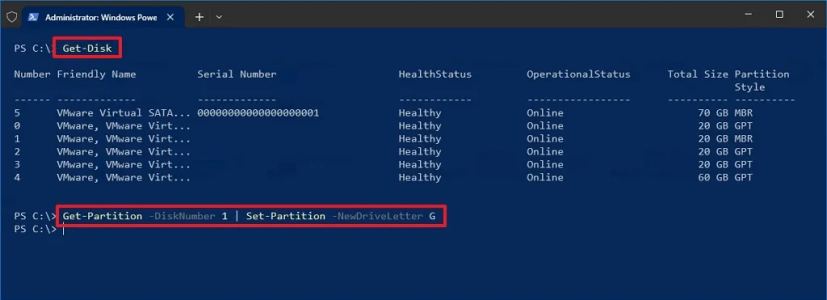
(Option 1) Type the following command to assign or change the drive letter if the hard drive has only one partition and press Enter:
Get-Partition -DiskNumber 1 | Set-Partition -NewDriveLetter G
In the above command, update “1” to the disk number of the drive to change and “G” to the letter you want to assign to the storage.
-
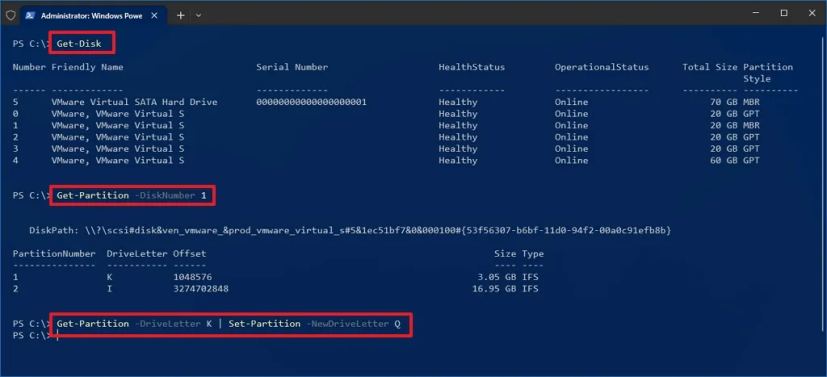
(Option 2) Type the following command to change the drive letter if the hard drive has multiple partitions and press Enter:
Get-Partition -DriveLetter G | Set-Partition -NewDriveLetter H
In the command, update “G” for the current letter and “H” for the new letter you want to appear on the drive.
-
(Option 3) Type the following command to assign a drive letter to a partition without any letter and press Enter:
Get-Partition -DiskNumber 1 -PartitionNumber 1 | Set-Partition -NewDriveLetter K
In the command, update “1” for the drive number containing the partition, then change the other “1” for the partition number without a letter, and then “K” for the new drive letter.
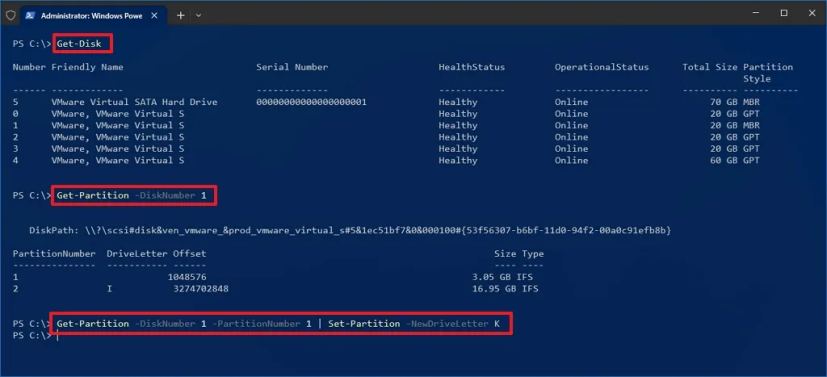
Once you complete the steps, the drive will have a new letter assignment and appear in File Explorer.
