If you store cache files, your iPad runs faster and you can access some app files offline. Even better, it saves cellular data because your iPad doesn’t always have to fetch data from a server. However, cache files eat up your internal storage space, which causes you to run out of space on a regular basis. This article describes how to clear iPad app cache.
How to clear cache on iPad apps
Unless you manually clear the cache of your apps, they remain on your device. If you have overzealous apps, then they may fill up your internal storage with cache files and thus make your device sluggish and sluggish.
Sometimes, the stored cache gets corrupted, affecting the normal performance of the app to the point of breaking. Other times, the cached data becomes outdated, which causes the app to display outdated information.
As a result, clearing the iPad app cache app regularly is crucial. After all, if you open the app after clearing its temporary files, your iPad will cache its data again.
Clear cache on browsing apps on iPad
iPad web browsers may be among the apps that store a lot of cache on your iPad. For every website you visit, your iPad stores cookies and cache.
Here’s how to clear cache on Safari browser:
- Open the Settings app on the iPad home screen and select General.
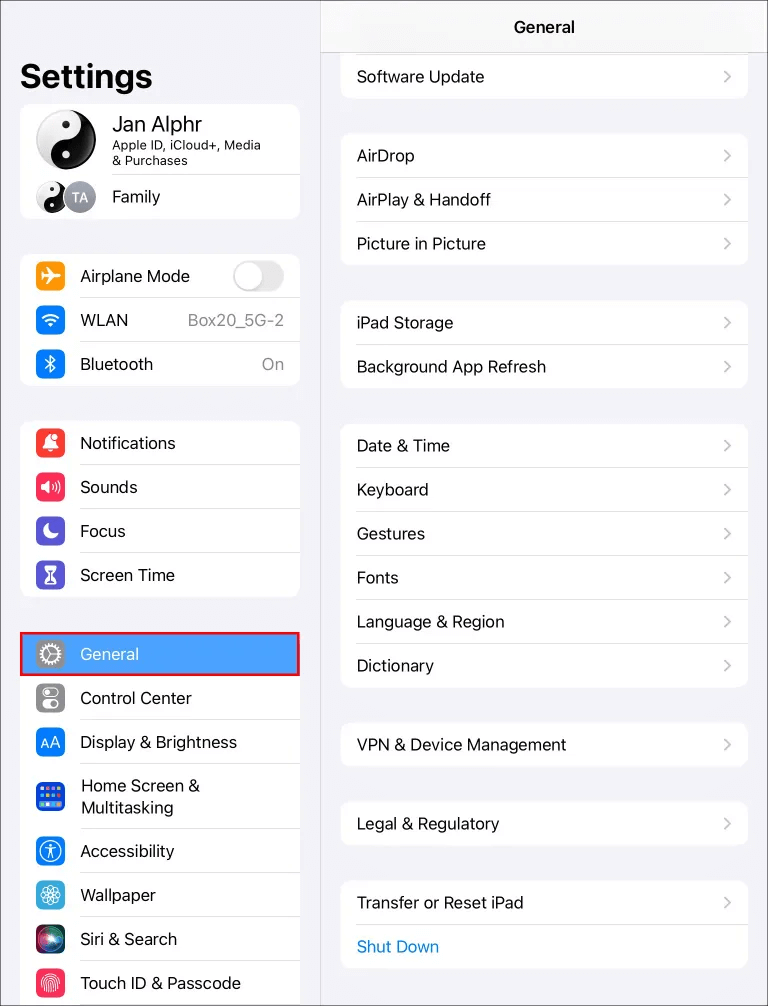
- Select “Storage” to view your apps’ storage information. Scroll down and select “Safari.”
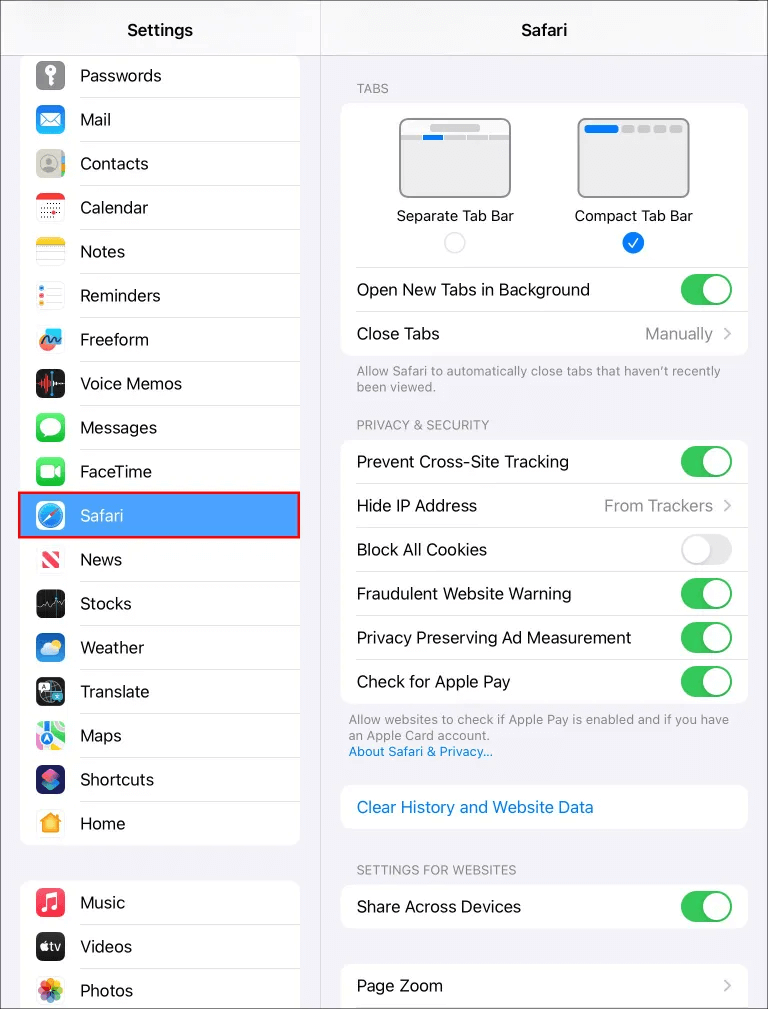
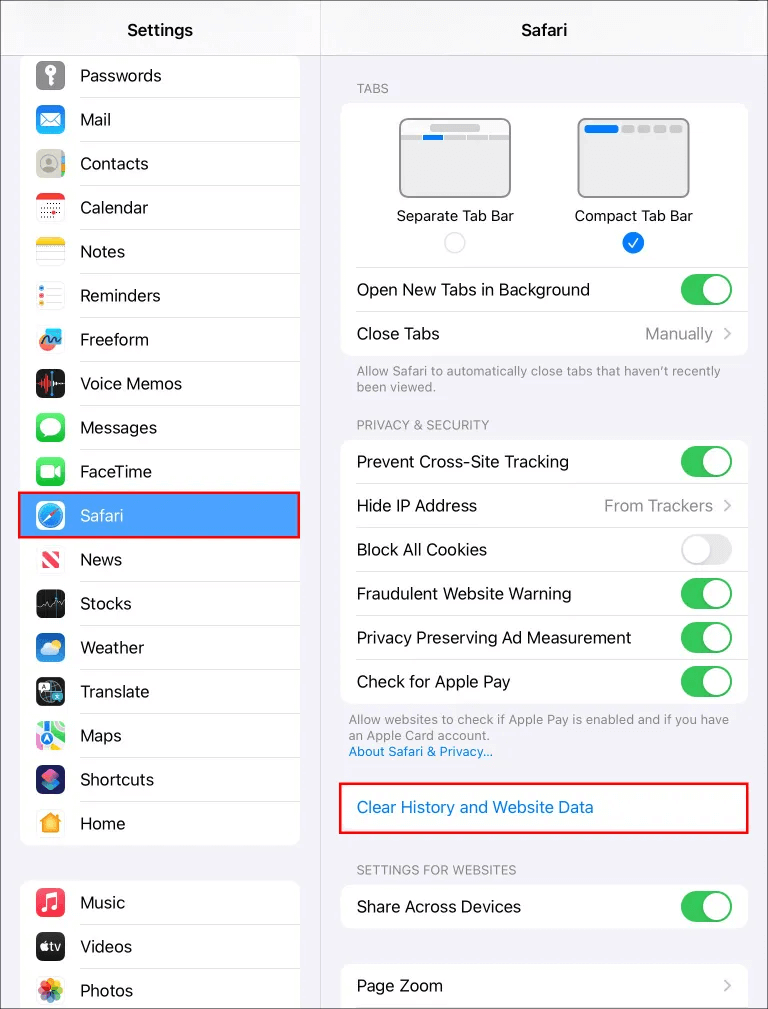
- On the Safari settings page, click on “Advanced” and select “Clear history and website data.” This displays a list of all locations that have stored temporary files on your iPad.
- To delete an individual cache file, hover over it and “swipe left.” Click the red “Delete” button on the right.
- To delete all browser cache files in one go, click on Remove All Website Data. Clearing the cache on the Safari iPad app removes data from other synced devices.
For Google Chrome, use the following steps:
- Launch the Chrome browser and select the “Ellipses menu” in the upper right corner.
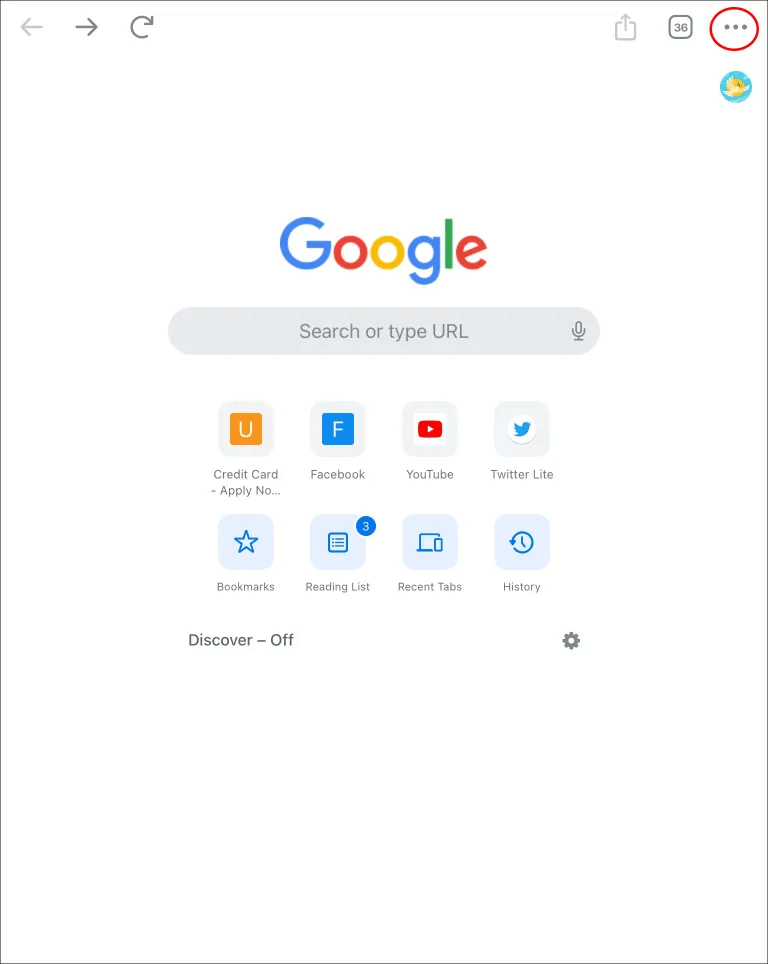
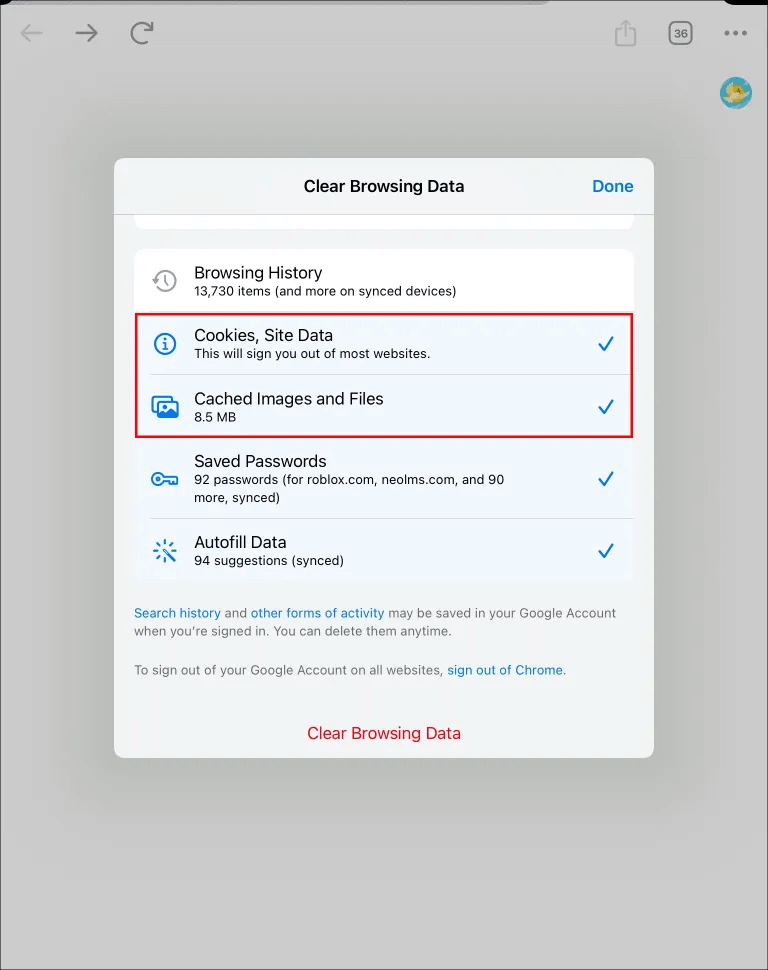
- Click on “History” and select “Clear browsing data” . Check if you have selected “Cookies and site data” and “Cached images and files”.
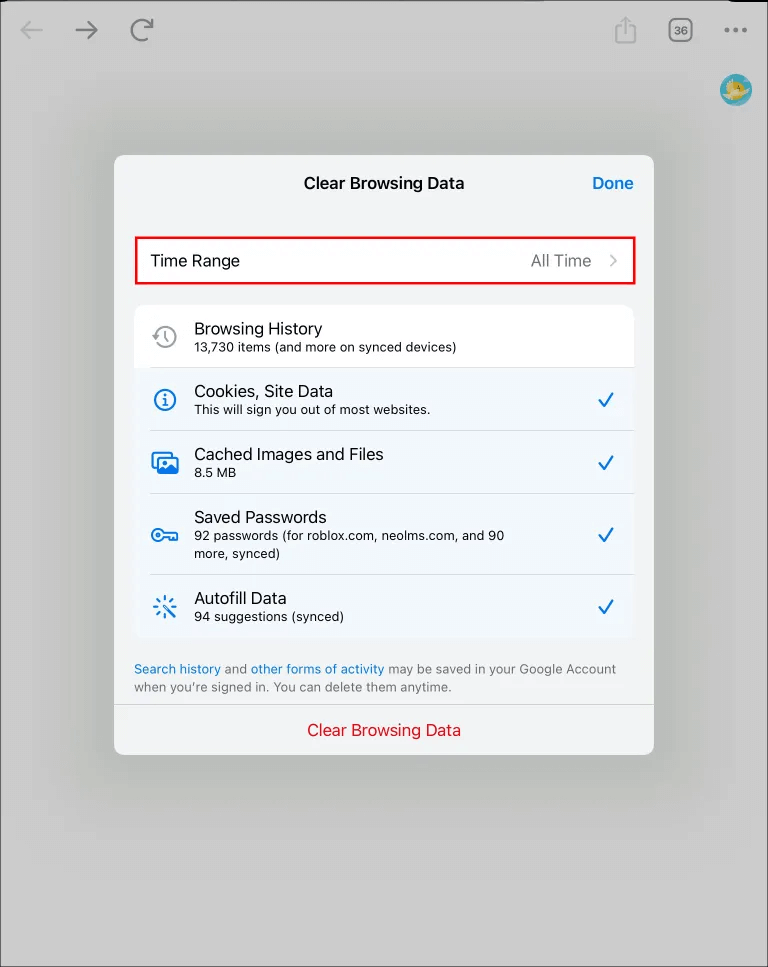
- Choose All time at the top to clear all cache files from the last time you cleared, or select the date range you want.
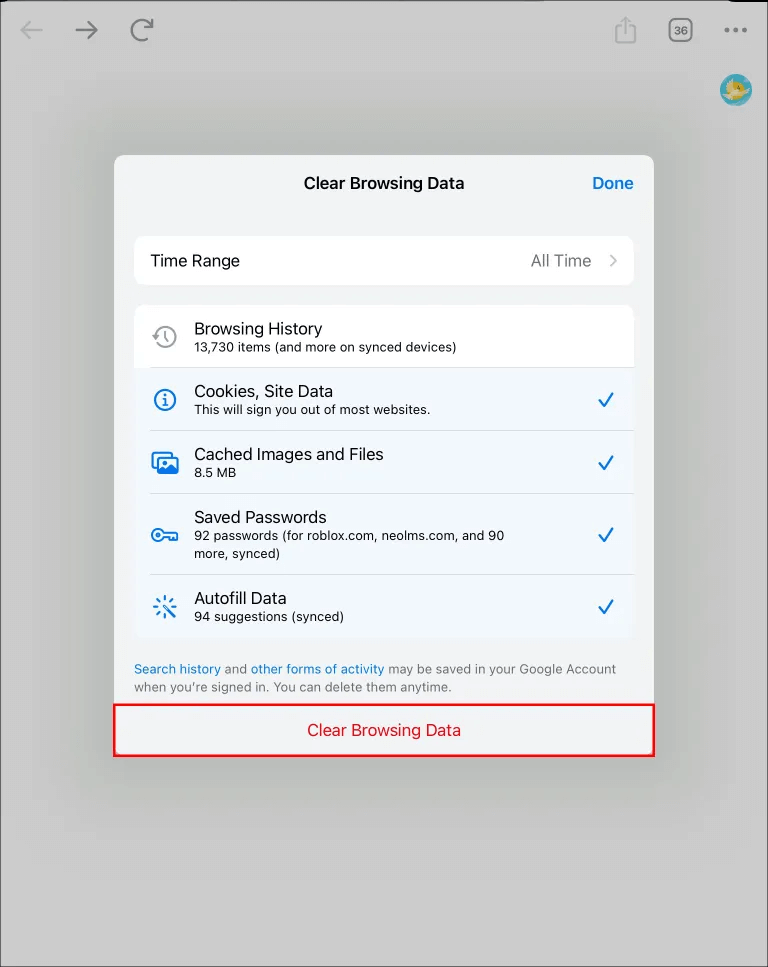
- Click on Clear browsing data to delete all cache files.
Clear individual iPad app cache
Clearing the cache using this method gives you two options: to offload or delete the app. Offloading removes an app from your iPad but keeps stored data and documents. When you reinstall the app, you get a clean slate of your data without cache files.
On the contrary, the delete option deletes the app and all information associated with it. If you reinstall the app, you will not recover your data.
To clear the cache using this method, do the following:
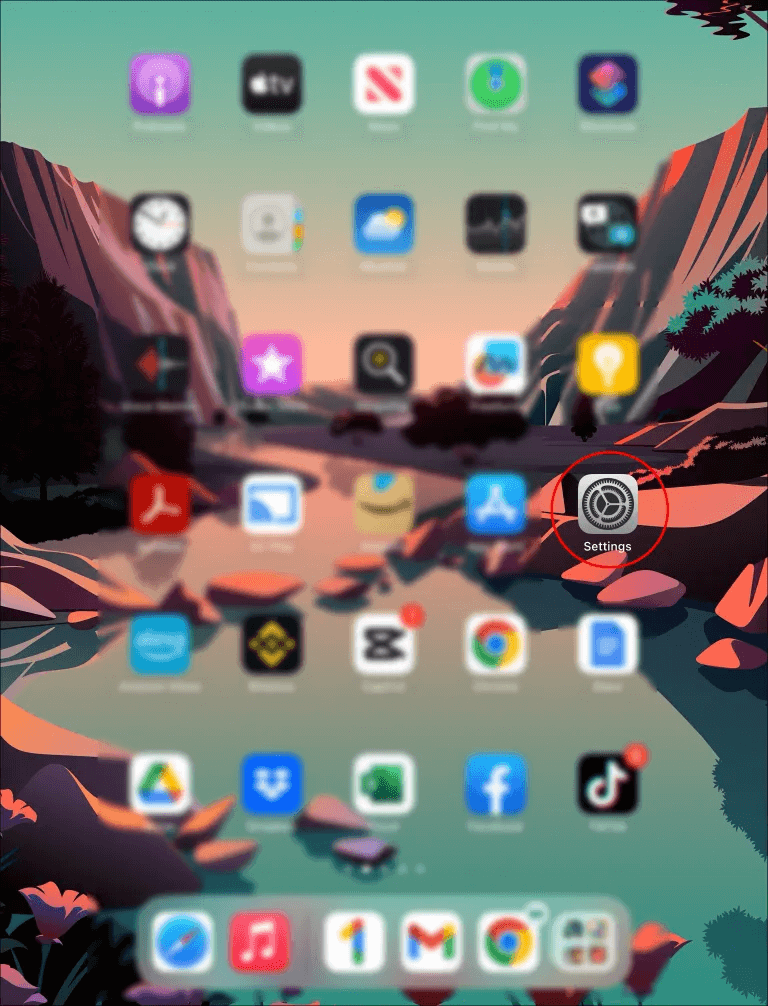
- Launch the Settings app from the iPad home screen.
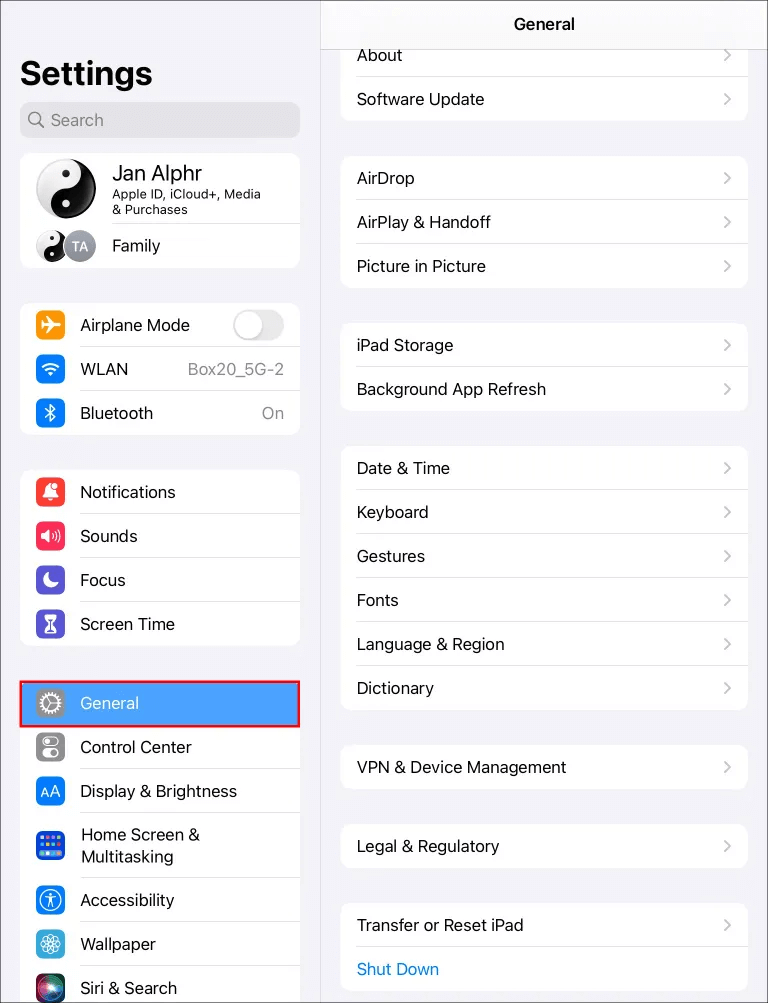
- Select General on the left sidebar. This opens the general page on the home screen.
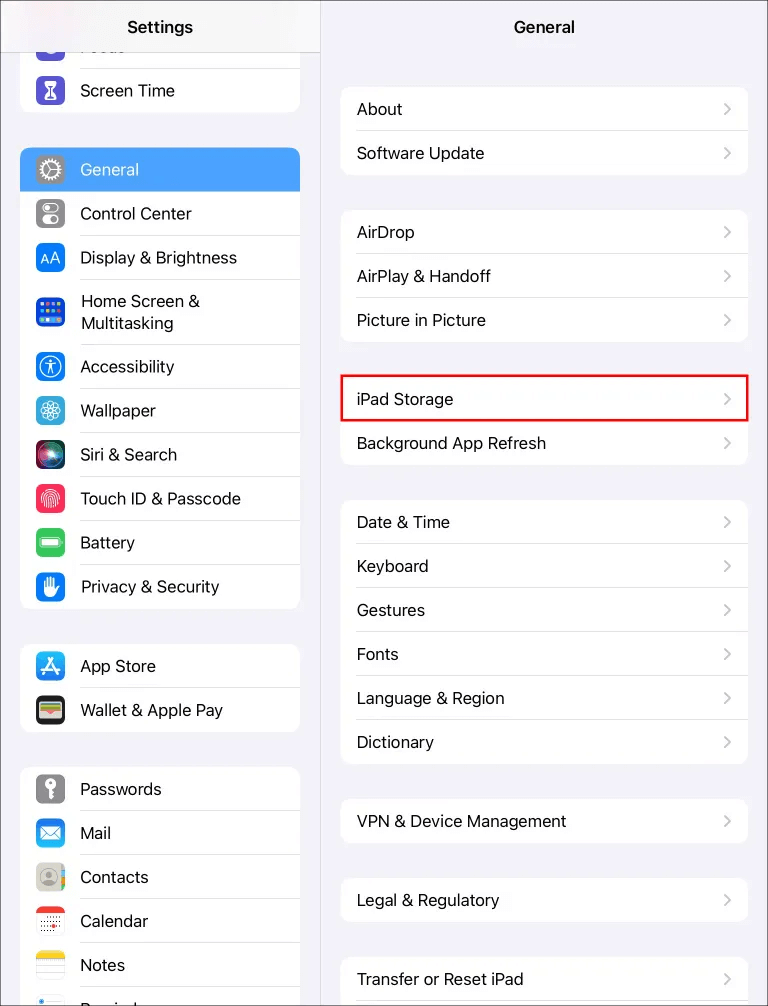
- Click on “Storage”. It may take a few minutes for the storage page to load if your device is out of space. When the Storage page loads, you’ll see a breakdown of how your apps are using storage space, with the apps taking up the most space shown at the top. You will also get app recommendations at the top.
- Tap an app to see its storage status. Below the app’s thumbnail, you will find two options, ‘Offload App’ and ‘Delete App’.
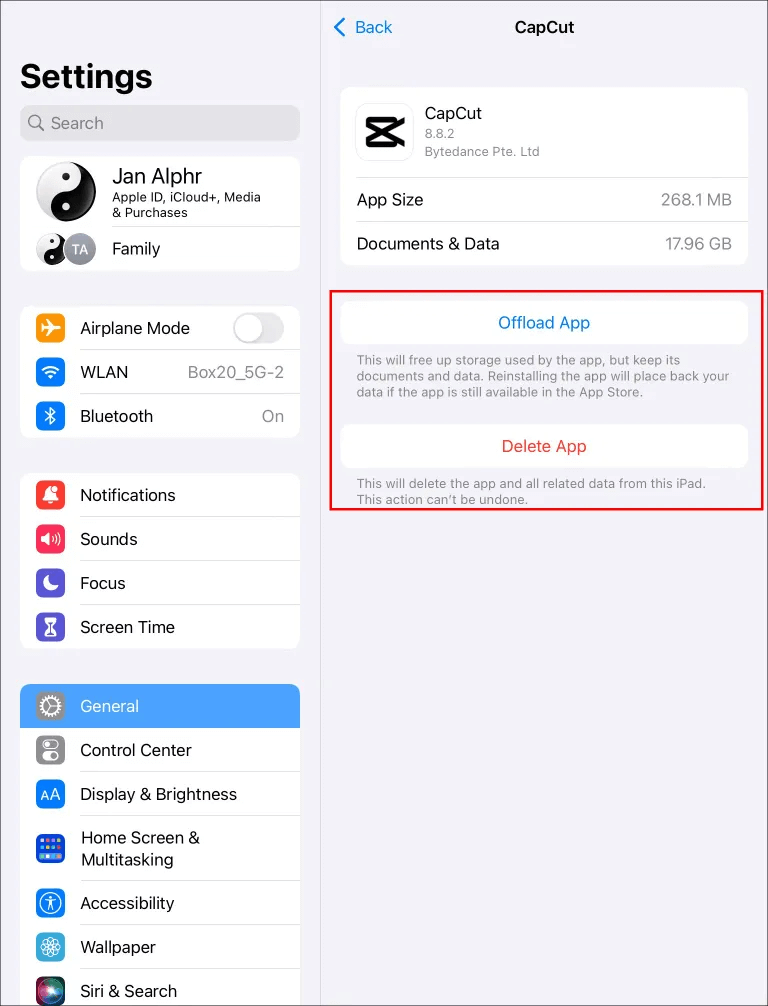
- If it’s an app you’re no longer using, tap Delete App . On the other hand, if it is an app that you use regularly and it takes up too much space, tap on Offload App . Remember to reinstall it afterwards to get your data back.
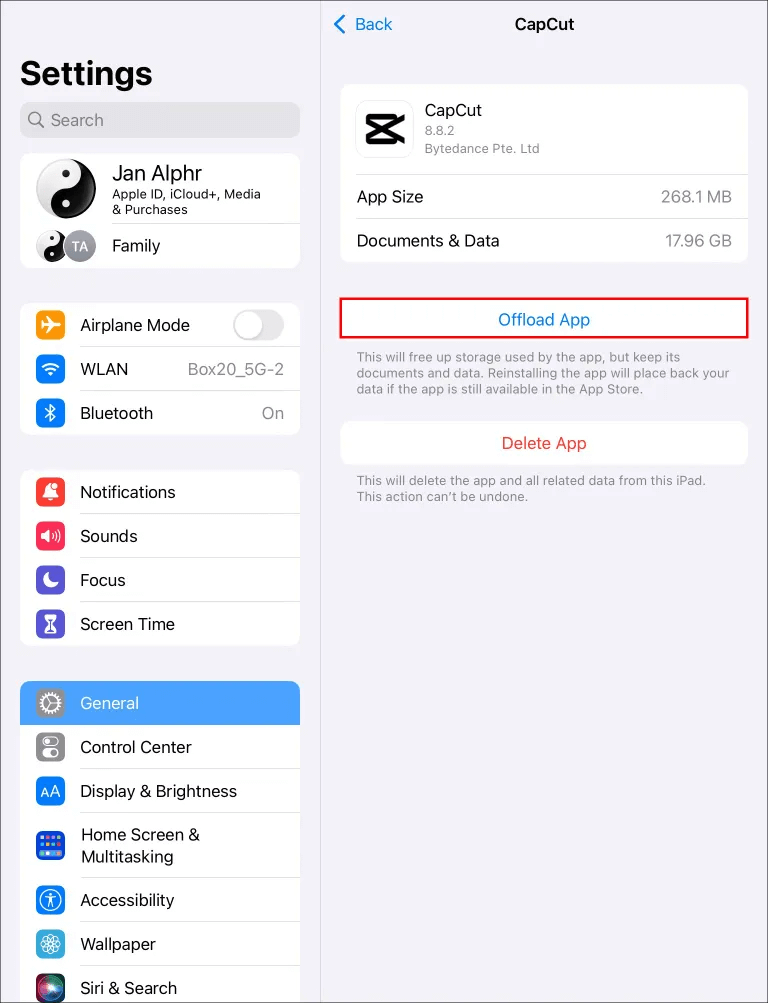
The downside to using this method is that some apps, like the Photos app, don’t have an offload or delete option to clear cache. You have to go into the application and manually delete the files that you no longer use.
Clear iPad app cache using the Home button
You may find it convenient to use the Home button if you don’t want to go through the tedious process of uninstalling and reinstalling your apps to clear cache.
- Go to the iPad home screen and tap on the app whose cache you want to clear.
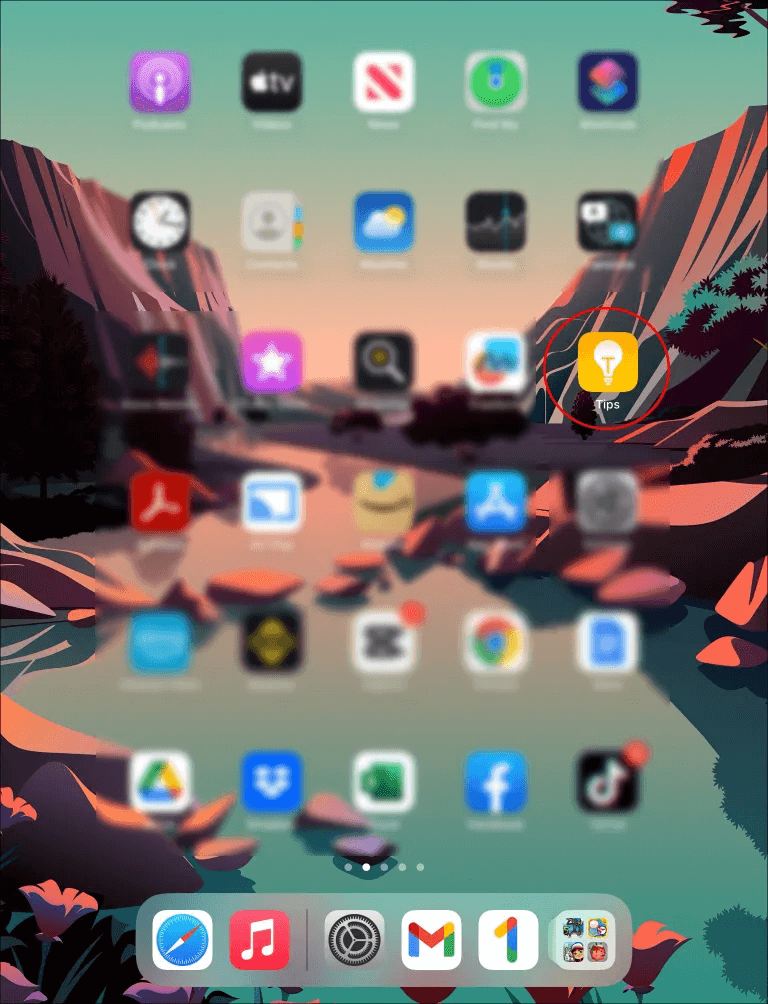
- When the app opens, press and hold the Power button in the lower right corner of your iPad until you see Slide to power off.
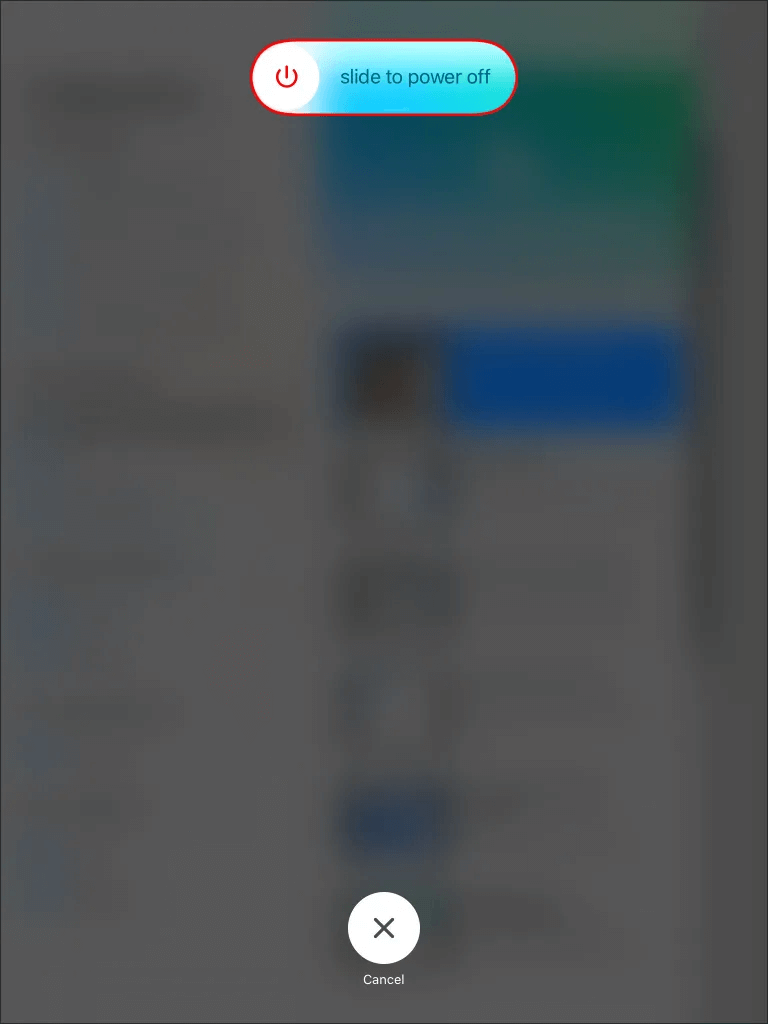
- Let go of the Power button and press the Home button on the left of the iPad until the app restarts. This clears the app’s cache.
If you are using a device without a home button, follow these steps to clear the cache:
- Open the Settings app and select General on the left sidebar.
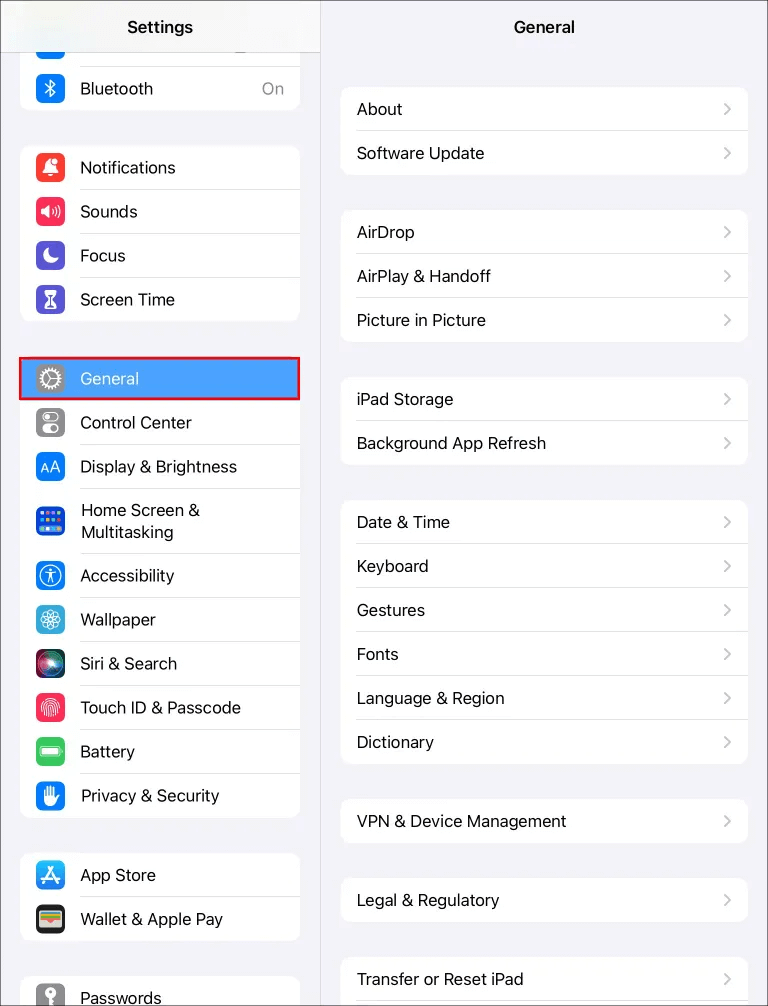
- Select “Accessibility” and enable the toggle for “AssistiveTouch” in the Accessibility window. A gray white circle appears on the home screen and now acts as a home button.

- Go back to the main Settings page and select General. Scroll down and select Power off.

- Long press the “AssistiveTouch” icon (home button) until the iPad screen turns black and flashes white.
- Click on “Slide to turn off”. The iPad restarts, and the cache is cleared.

Clear cache of third-party apps on iPad
Unlike pre-installed iPad apps, most third-party apps have a cache option in their storage settings. To clear cache for these apps, do the following:
- Open any third-party app on your iPad , such as Snapchat or WhatsApp.
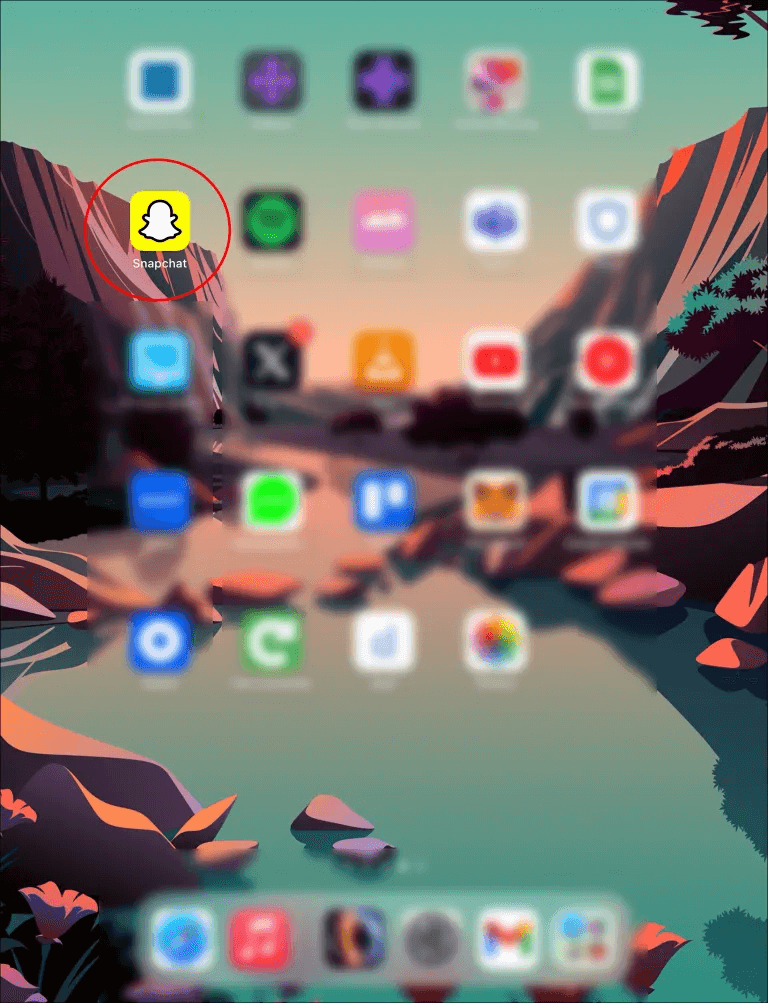
- Select the gear or “Settings” button within the app.

- Scroll through the Settings menu and locate “Storage & data” or “Storage & cache.” Terms vary slightly from application to application.
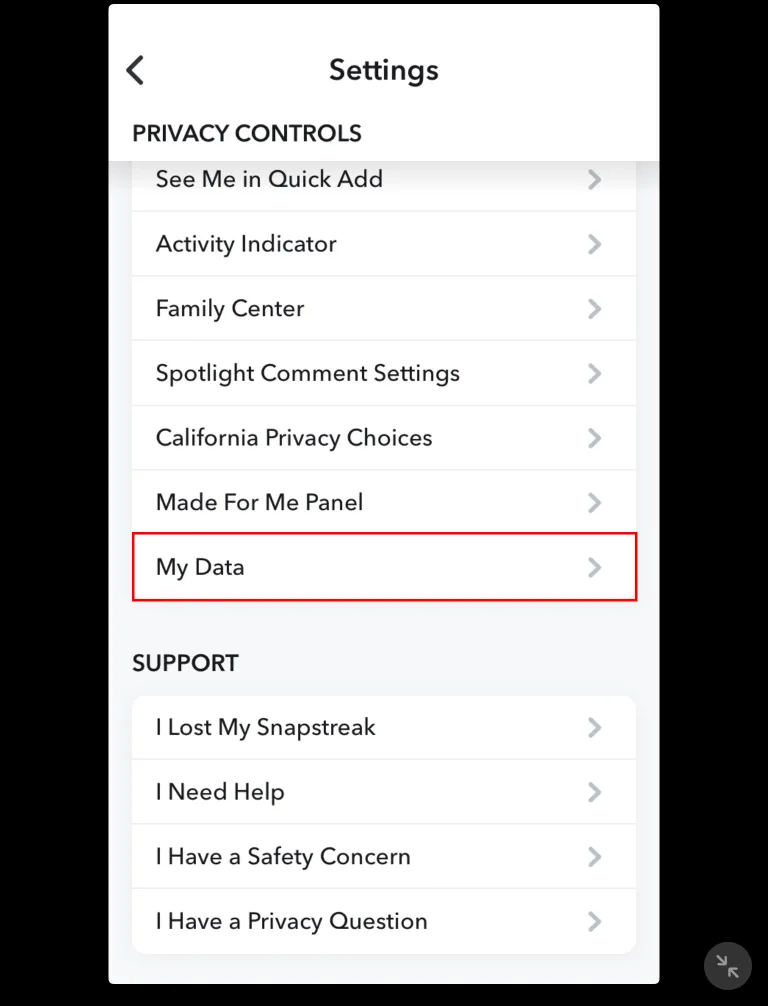
- Select Manage Storage and select Clear Cache.
Clear cache on iPad using third party tools
You may have noticed that there is no way to clear cache on iPad in one go. This can be inconvenient if your device is short on space and you don’t have time to go through every app to clear cache. Fortunately, you can use third-party tools on your Mac or Windows to clear iPad app cache on the spot.
Examples of third-party cache cleaning tools include iFreeUp and PanFone iOS Eraser . iFreeUp is suitable for iPad users who are running Windows PC. On the other hand, PanFone iOS eraser supports Mac and Windows. These third party tools work similarly.
Here’s how to clear cache on your iPad using the PanFone iOS Eraser app:
- Launch your Home windows or Mac browser and download the required third party tool .

- After downloading, launch and install the application on your computer. Open the app when done.
- Use a USB cable to connect your iPad to your computer.
- Select the “Free up space” icon in the upper left corner of the sidebar. Select “Quick Scan” on the main screen.
- The scan takes a few minutes, after which it shows the space used by junk files.
- Go to the bottom right of the screen and select Clean. Give the app some time to clear cache files. Repeat the process to ensure that you have removed all unwanted files.
Free your iPad
If you use your iPad every day, it is bound to accumulate cache files which, if left unerased, will cause your device to lag and run out of space. Although cache files are useful for your device, deleting them in any of the above ways will benefit your device’s performance.
How often do you clear cache on your iPad? Do you wish your iPad had a way to clear cache without uninstalling apps? Let us know in the comments section below.
