The Microsoft Retailer is a handy method to obtain and set up apps in your Home windows PC. Nonetheless, generally it’s possible you’ll encounter errors when attempting to launch Microsoft Retailer or set up apps from it. You possibly can carry out a reset or clear cache to repair varied points with the app. Right here we present you how one can reset the Microsoft Retailer in Home windows 11 and 10.
Find out how to reset Microsoft Retailer from Settings
You possibly can entry the Microsoft Retailer app’s superior choices in Settings to carry out a reset or restore. Comply with these steps to reset the app by Settings.
- Click on on win + i to unlock Settings.
- Within the left pane, click on on the tab Apps.
- In the best pane, click on Sure. Functions and options.
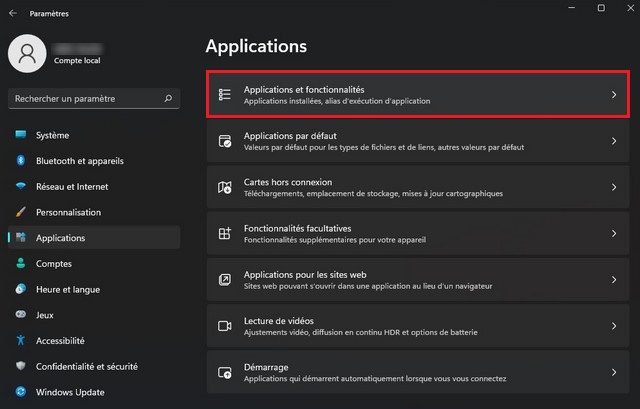
- You possibly can scroll by the checklist of apps or use the search bar to find the app Microsoft Retailer.
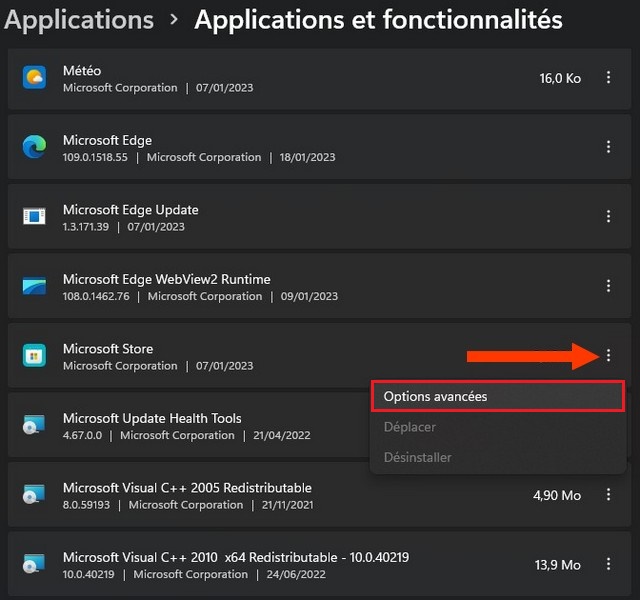
- Then click on checklist of three factors subsequent to the Microsoft Retailer and choose Superior Choices.
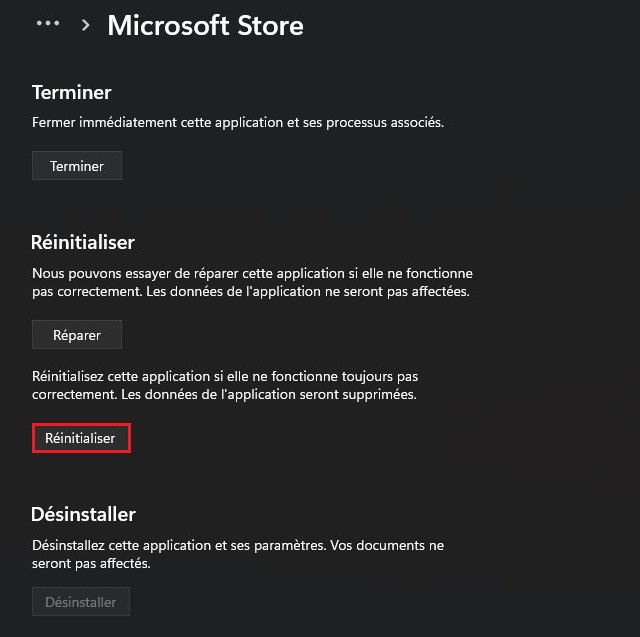
- Scroll right down to the part Re-Set. click on right here Restore If you wish to repair the app.
- In any other case, click on Re-Set. Then click on Re-Set once more to verify the motion.
Find out how to clear Home windows Retailer cache by way of Command Immediate
If you do not need to reset the Microsoft Retailer, you should utilize the instrument WSReset.exe To clear the applying cache. It is a built-in command immediate instrument that shortly clears the cache and launches the Microsoft Retailer.
To clear the Microsoft Retailer cache:
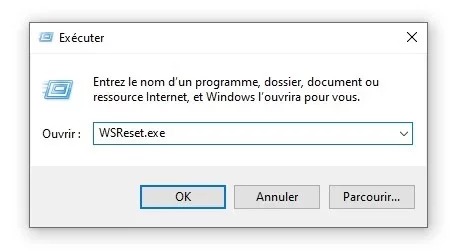
- Press the important thing Win + R. to open the dialog field Implement.
- He writes poultice and click on Sure to open a command immediate.
- Within the Command Immediate window, sort the next command and hit Enter to run:
WSReset.exe
- When launched, you will note a clean window related to the Microsoft Retailer. The instrument could take a while to clear the cache, so await it to finish.
When completed, the instrument will mechanically shut and launch the Microsoft Retailer. Now you possibly can proceed putting in or updating the app with none downside.
Additionally Learn: Repair Error Code 0x80072F30 in Microsoft Retailer
Reset the Microsoft Retailer to repair the problems
You possibly can repair widespread Microsoft Retailer errors and different points by clearing the app cache. If that does not work, reset the app to revive the default setting. If the issue persists, troubleshoot different points that could be stopping the Microsoft Retailer from opening.
Additionally seek the advice of this information if you wish to understand how Set up the brand new Microsoft Retailer in Home windows 10.