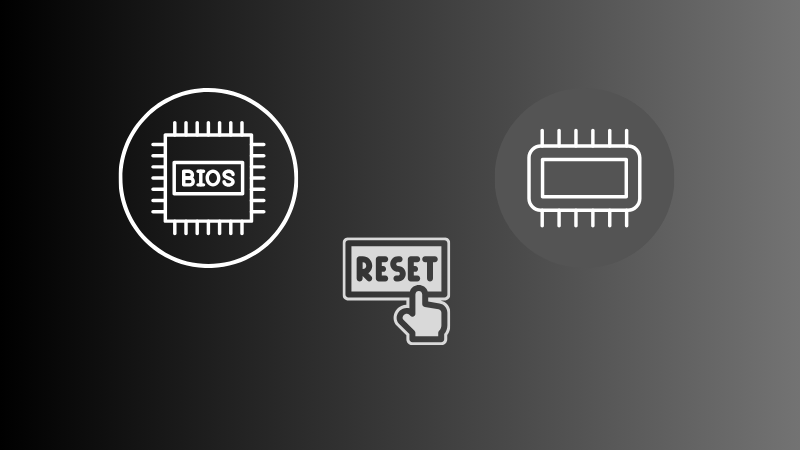
BIOS stands for Primary Enter/Output System and may be very essential for fundamental to heavy operations in Home windows 11/10. When this turns into corrupt, this may increasingly lead to completely different error codes together with an replace error, Blue Display, and others. This information highlights the the explanation why it happens, and the way to reset the BIOS in your ASUS laptop.
Easy methods to repair Error Code 0x800700d8 in Home windows 10
Easy methods to reset the ASUS BIOS in your Pc?
Relying on what mode i.e. UEFI or Legacy put in in your PC, you could comply with the particular part to reset the BIOS of your ASUS laptop.
Earlier than you carry out the resetting activity, it is advisable to first enter boot into the BIOS mode. Right here’s how to try this –
- To start with, shut down your PC usually.
- Subsequent, press and maintain the F2 key, and press the Energy On button.
- Anticipate a number of seconds and you will note your machine coming into the BIOS mode.
Observe: The perform key might range relying on completely different fashions of ASUS. So, if the F2 key doesn’t work, strive with the following perform key or contact your PC’s producer.
1.1 Resetting ASUS BIOS in UEFI mode
The UEFI function in ASUS helps each Mouse in addition to Keyboard inputs. So, you could use both your keyboard or mouse to pick the choices of resetting its BIOS. Right here’s what it is advisable to comply with –
- Restart your laptop and when your machine is restarting, press the supported perform key.
- As soon as you might be contained in the UEFI mode, click on on the Default choice.
- A affirmation field will seem subsequent suggesting to load optimized default settings. Nicely, click on OK.
- Anticipate a number of seconds and you will see that your BIOS reset to its default settings.
- Press F10 to avoid wasting and exit the present state in your PC.
- Alternatively, you might also click on on the Save & Exit button obtainable on the backside of the display screen.
- A brand new affirmation field will seem asking if you wish to save the current adjustments in your PC.
- Click on OK and your PC will restart usually.
That’s it, you’ve gotten efficiently reset the ASUS BIOS in UEFI mode.
1.2 Resetting the ASUS BIOS within the Legacy mode
As opposite to UEFI mode, the legacy mode doesn’t allow you to use the mouse inputs. Because of this, you could use solely the arrow keys to leap from one place to a different and make any adjustments utilizing the Enter key. To reset ASUS BIOS within the legacy mode, you could comply with these simple steps –
- Restart your laptop and when it’s loading, press the perform key.
- Press the F9 key subsequent to pick the optimized defaults.
- Alternatively, you might also go to this setting utilizing the arrow keys and press the Enter key.
- A affirmation message will seem subsequent asking if you wish to load the optimized default settings.
- Click on Sure utilizing the arrow keys. Your BIOS will subsequent save to its default settings.
- Use the arrow keys once more to succeed in the Save & Exit choice and press the Enter key once more.
- A affirmation field will seem once more prompting if you wish to save and exit.
- Choose Sure by utilizing the arrow keys and the ASUS BIOS will likely be saved to the present configuration.
Restart your laptop and you will see that your machine functioning all okay.
2. Use the Clear CMOS Jumper
ASUS PC features a Clear CMOS Jumper that you could be use the reset the BIOS mode. Right here’s the way to use this instrument to reset the BIOS. This repair entails some pre-knowledge about {hardware}. In case you don’t have sufficient experience, make certain to take the assistance of some skilled or a technician.
- Flip off your laptop and disconnect the ability provide.
- Find the Clear CMOS jumper on the motherboard. It’s sometimes labeled as CLR_CMOS or one thing comparable.
- Transfer the jumper from its default place to the clear place (seek the advice of your motherboard guide for the precise location).
- Go away the jumper within the clear place for about 10-15 seconds.
- Transfer the jumper again to its unique place.
After you’ve gotten efficiently adopted the above steps, reconnect the ability provide and switch in your laptop.
3. Take away the CMOS Battery
If clearing the CMOS Jumper doesn’t work, you could go along with the answer of eradicating the CMOS Battery. Right here’s how –
- Energy off your laptop and disconnect the ability provide.
- Find the CMOS battery on the motherboard. It’s normally a coin-cell battery.
- Take away the CMOS battery from its slot.
- Go away it out for about 10-Quarter-hour.
- Reinsert the CMOS battery.
- Reconnect the ability provide and switch in your laptop.
The BIOS in your laptop should begin working as earlier than with none points or glitches.