You may nonetheless create a USB bootable flash drive to put in Home windows 8.1. On this information, I’ll define 3 ways to finish this course of. Home windows 8.1 reached the end of support back in January 2023, and regardless that it’s advisable to make use of a supported model (reminiscent of Home windows 11 or 10) for the reason that working system now not receives safety updates or help, you should still have legitimate causes to put in it.
For instance, in my case, as a result of nature of my work, I generally have to entry older variations of Home windows to check software program compatibility, entry legacy options, test the evolution of the working system throughout variations, and so on. In your case, it’s possible you’ll want to put in Home windows 8.1 for compatibility functions, a selected {hardware} configuration that doesn’t help a more recent model, or it’s possible you’ll be curious.
If you might want to create a bootable USB flash drive to put in Home windows 8.1, you will have a number of choices, together with the Rufus, Ventoy, and Command Immediate.
On this information, I’ll educate you how you can create a USB bootable media to put in Home windows 8.1 on older {hardware} or a digital machine. (You may obtain the Home windows 8.1 ISO file with these directions.)
- Create Windows 8.1 bootable USB from Rufus
- Create Windows 8.1 bootable USB from Ventoy
- Create Windows 8.1 bootable USB from Command Prompt
Create Home windows 8.1 bootable USB from Rufus
To create a bootable USB of Home windows 8.1 with Rufus, join a flash drive with sufficient house (4GB or extra) and use these steps:
-
-
Click on the hyperlink to obtain the most recent model underneath the “Obtain” part.
-
Double-click the executable to launch the software.
-
Click on the Settings button (third button from the left) on the backside of the web page.
-
Use the “Examine for updates” drop-down menu and choose the Day by day possibility underneath the “Settings” part.
-
Click on the Shut button.
-
Click on the Shut button once more.
-
Open Rufus once more.
-
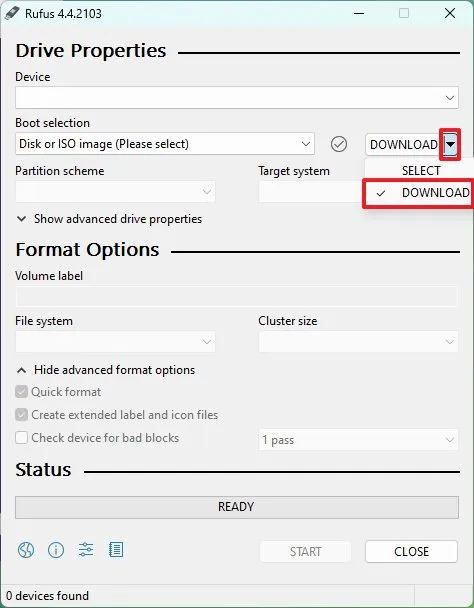
Use the drop-down menu and choose the USB flash drive to create the set up media underneath the “System” part.
Fast notice: You should join a USB flash drive of a minimum of 4GB (or 8GB) to create the bootable drive. Additionally, keep in mind that this course of will delete all the pieces on the flash drive, so make sure that to again up any knowledge earlier than continuing. -
Click on the down-arrow button (on the suitable aspect) and choose the Obtain possibility.
 Fast tip: If you have already got the ISO file, click on the “Choose” button, select the picture file, and proceed with step 23.
 -
Click on the Obtain button.
-
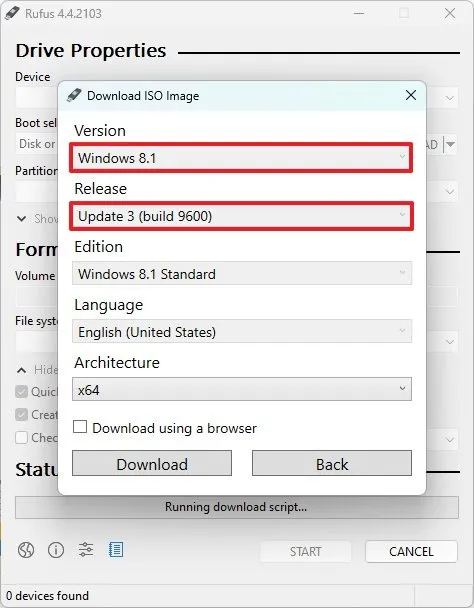
Choose the Home windows 8.1 possibility.
-
Click on the Proceed button.
-
Choose the most recent replace launch obtainable underneath the “Launch” part.
-
Click on the Proceed button.
-
Choose the “Home windows 8.1 Commonplace” possibility.
-
Click on the Proceed button.
-
Choose the set up language of Home windows 11.
-
Click on the Proceed button.
-
Choose the x64 (64-bit) (or x86 (32-bit)) possibility for the working system structure.
-
Click on the Obtain button.
-
Choose the situation to save lots of the Home windows 8.1 ISO file routinely.
-
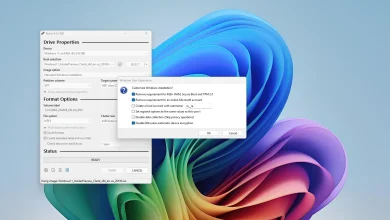
Select the “Commonplace Home windows Set up” possibility underneath the “Picture possibility” setting.
-
(Non-obligatory) Proceed with the default settings after the obtain.
-
(Non-obligatory) Underneath the “Quantity label” setting, specify a reputation for the drive, reminiscent of Home windows 8.1 Setup.
-
Click on the Begin button.
-
Click on the OK button.
When you full the steps, the software will create a bootable media with the Home windows 8.1 set up media.
Create Home windows 8.1 bootable USB from Ventoy
Ventoy is a third-party software that installs on a USB drive and makes any ISO file bootable from nearly any platform, together with Home windows 8.1.
To create a Home windows 8.1 bootable USB with Ventoy, join a flash drive with sufficient house (4GB or extra) and use these steps:
-
Underneath the “Property” part, click on the ventoy-x.x.xx-windows.zip file and obtain it to your laptop.
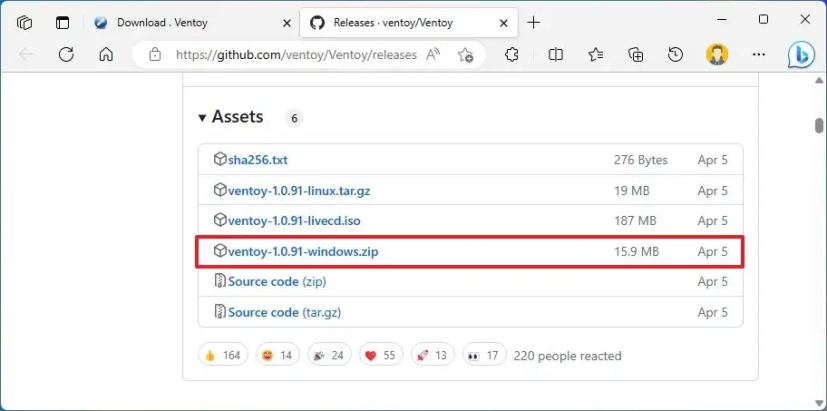 Fast notice: It’s possible you’ll have to drive and maintain the file because the browser might detect it as malicious.
 -
Open File Explorer.
-
Open the Zip folder location.
-
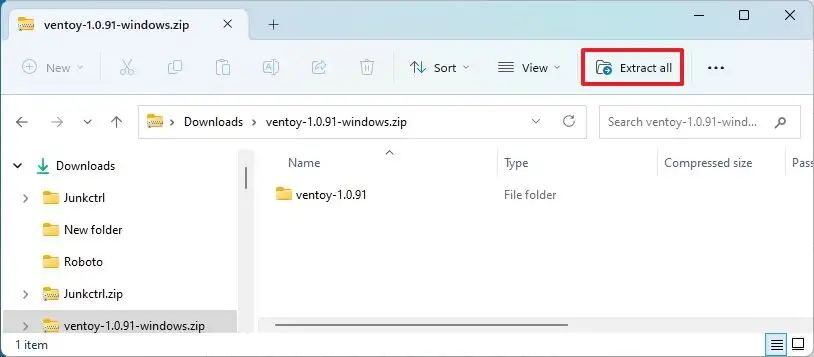
Double-click the open the ventoy-x.x.xx-windows.zip file.
-
Click on the Extract all button from the command bar.
-
Click on the Browse button.
-
Choose a location to extract the information.
-
Click on the Choose Folder button.
-
Click on the Extract button.
-
Open the ventoy-x.x.xx folder.
-
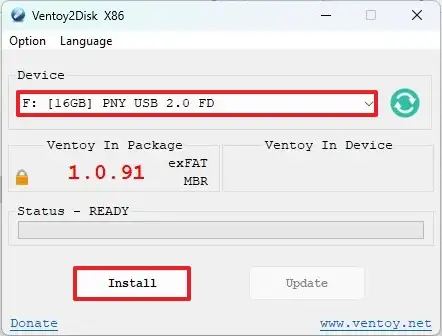
Double-click the Ventoy2Disk.exe file to launch the installer.

-
Select the USB flash drive from the “System” setting.
Fast tip: If in case you have any vital information within the flash drive, making a backup is advisable, as this course of will erase all the pieces on the exterior drive. -
Click on the Set up button.
-
Click on the OK button.
-
Open the Ventoy drive with File Explorer.
-
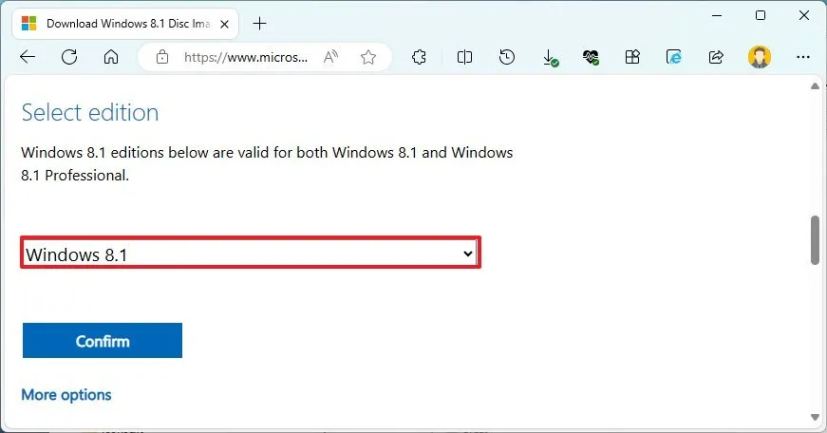
Select the Home windows 8.1 possibility underneath the “Choose version” part.
-
Click on the Verify button.
-
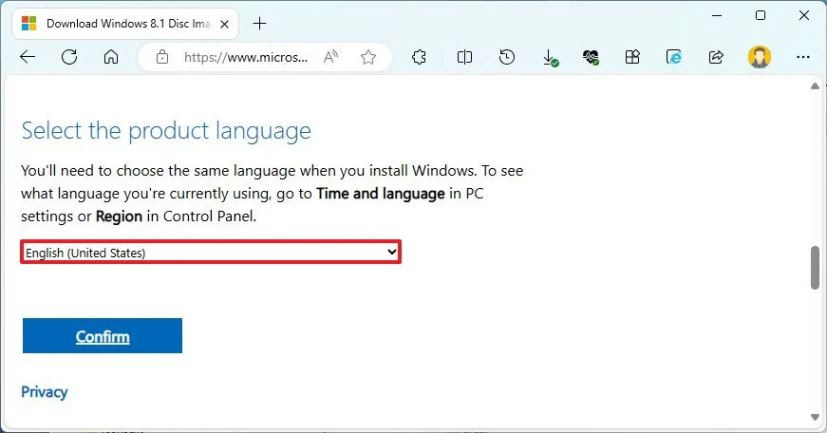
Choose the set up language.
-
Click on the Verify button.
-
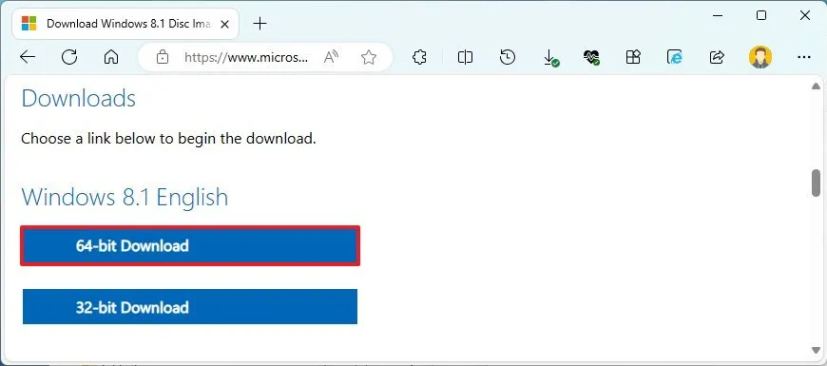
Click on the 64-bit (or 32-bit) Obtain button.
-
Copy and paste the ISO file into the Ventoy USB flash drive to make it bootable.
After finishing the steps, you need to use the bootable USB flash drive to start out a tool with the Ventoy utility, from which you’ll be able to launch the Home windows 8.1 Setup.
Create Home windows 8.1 bootable USB from Command Immediate
If you happen to don’t need to use third-party instruments, you’ll be able to nonetheless use instructions to create a bootable flash drive after which switch the set up information onto the USB storage.
To create a bootable USB flash drive to put in Home windows 8.1 with Command Immediate, use these steps:
-
Select the Home windows 8.1 possibility underneath the “Choose version” part.
-
Click on the Verify button.
-
Choose the working system set up language.
-
Click on the Verify button.
-
Click on the 64-bit (or 32-bit) Obtain button.
-
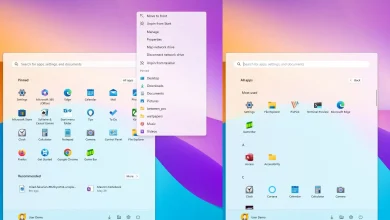
Open Begin.
-
Seek for Command Immediate, right-click the highest consequence, and choose the Run as Administrator possibility.
-
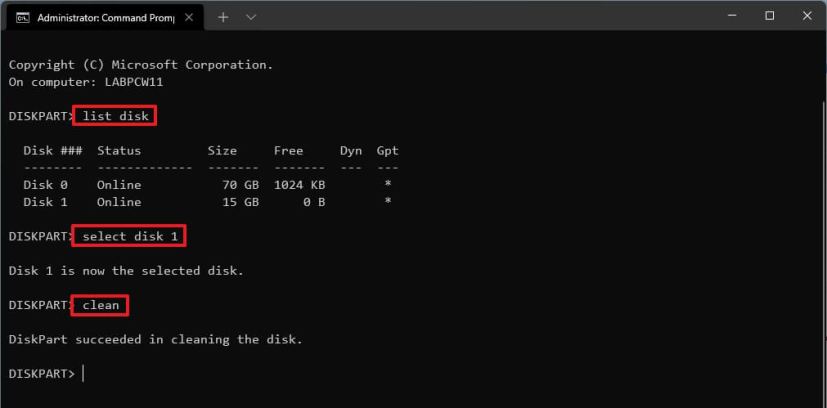
Kind the next command to open Diskpart and press Enter:
diskpart
-
Kind the next command to find out the USB flash drive and press Enter:
listing disk
-
Kind the next command to pick the storage and press Enter:
choose disk 1
Fast tip: Thechoose disk 1command for instance, however you could exchange 1 with the flash drive you need to use. -
Kind the next instructions to delete all the pieces from the USB flash drive and press Enter:
clear
-
Kind the next command to create a major partition and press Enter:
create partition major
-
Kind the next command to pick the brand new partition and press Enter:
choose partition 1
-
Kind the next command to make the USB flash drive bootable and press Enter:
format FS=FAT32 fast
-
Kind the next command to assign a quantity and a drive letter for the USB flash drive and press Enter:
assign letter=X
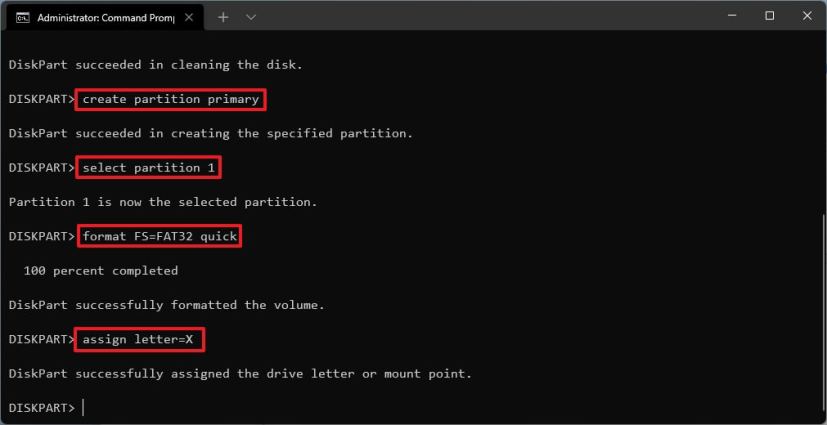
Change X for any obtainable letter you need to use within the command.
-
Kind the next command to stop the software and press Enter:
exit
-
Kind the next command to mount the Home windows 8.1 ISO file and press Enter:
PowerShell Mount-DiskImage -ImagePath "C:pathtoWindows8.1.iso"

Within the command, replace the trail with the situation the place you will have saved the Home windows 8.1 ISO file.
-
Kind the next command to relaunch Diskpart and press Enter:
diskpart
-
Kind the next command to find out the drive letter for the mounted Home windows 8.1 ISO file and press Enter:
listing quantity
-
Kind the next command to exit Diskpart and press Enter:
exit
-
Kind the next command to entry the Home windows 8.1 ISO file and press Enter:
E:
-
Kind the next command to enter the boot folder and press Enter:
cd boot
-
Kind the next command to replace the quantity boot code for the USB flash drive and press Enter:
bootsect /nt60 X:
-
Kind the next command to repeat all of the Home windows 8.1 set up information to the USB flash drive and press Enter:
xcopy E:*.* X: /E /F /H

Within the command, change the E and X drive letters with the proper drive letters for the Home windows 8.1 ISO picture and the USB flash drive, respectively.
When you full the steps, you’ll be able to set up Home windows 8.1 utilizing the bootable flash drive.
Though it’s nonetheless doable to create a bootable USB flash drive, you must perceive that Home windows 8.1 is now not supported, which means there aren’t any extra safety updates. Additionally, utilizing an unsupported working system exposes your laptop and information to safety dangers from malware, viruses, and different exploits, and you’ll encounter compatibility issues with newer purposes.
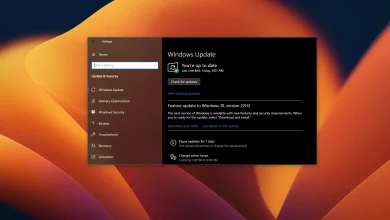
If the {hardware} is supported, you must think about putting in the most recent model of Home windows 10. It’s also possible to use these directions to improve from Home windows 8.1 to 10.
It’s vital to notice that I’ve used a pc working Home windows 11 for this set of directions, however the instruments talked about on this information ought to work on Home windows 10 and eight.1.
Lastly, you need to use bootable media as a restoration drive to start out and restore the set up of your gadget.