High 3 methods to take away write safety from USB drives and SD playing cards on Home windows 11
You may solely view and replica information when write safety is enabled on the USB system or SD card. Consequently, in case you attempt to write or delete information on the storage system, Home windows will show an error message saying “The disk is write-protected.” Thankfully, Home windows 11 makes eradicating write safety from a USB drive or SD card straightforward.
These restrictions won’t forestall you from formatting the storage system or modifying its content material. Under, we’re sharing three straightforward methods to disable write safety for USB drive and SD card on Home windows 11. So, let’s have a look.
1. The right way to take away write safety utilizing the bodily key in your system
Choose USB drives and SD playing cards embrace a bodily swap that allows you to scorching swap read-only. This supplies a handy method to allow or disable write safety in your storage system.
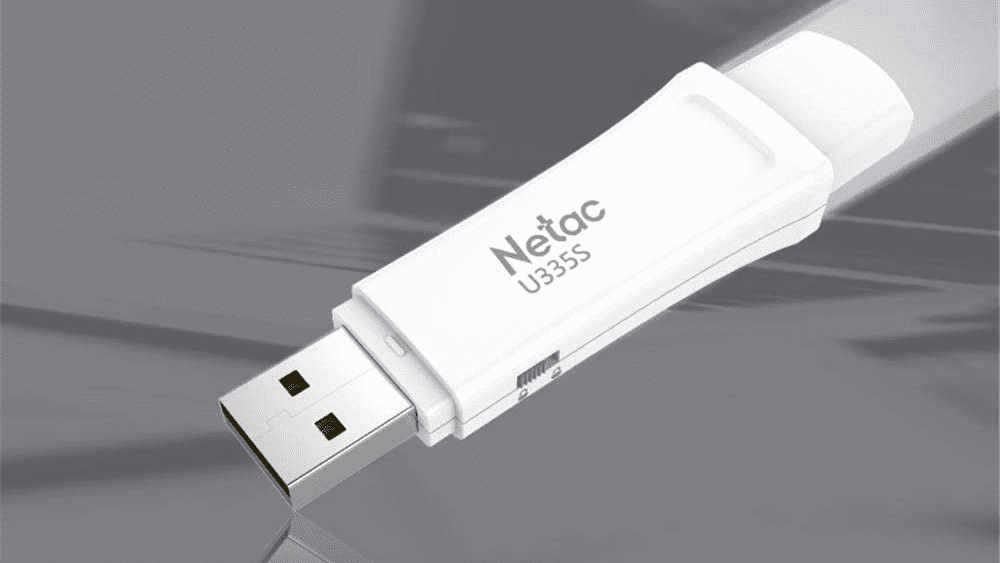
In case your USB drive or SD card has a bodily write-protect swap, set it to unlock or off. Nevertheless, in case your system lacks such an adapter, you should utilize the DiskPart command or Registry Editor to take away the write safety.
2. The right way to take away write safety utilizing the diskpart command
DiskPart is a helpful command line instrument that permits you to handle your inner and exterior storage units. With Diskpart, you possibly can carry out many superior disk administration duties that aren’t out there within the Disk Administration utility. This contains the power to take away write safety out of your storage system.
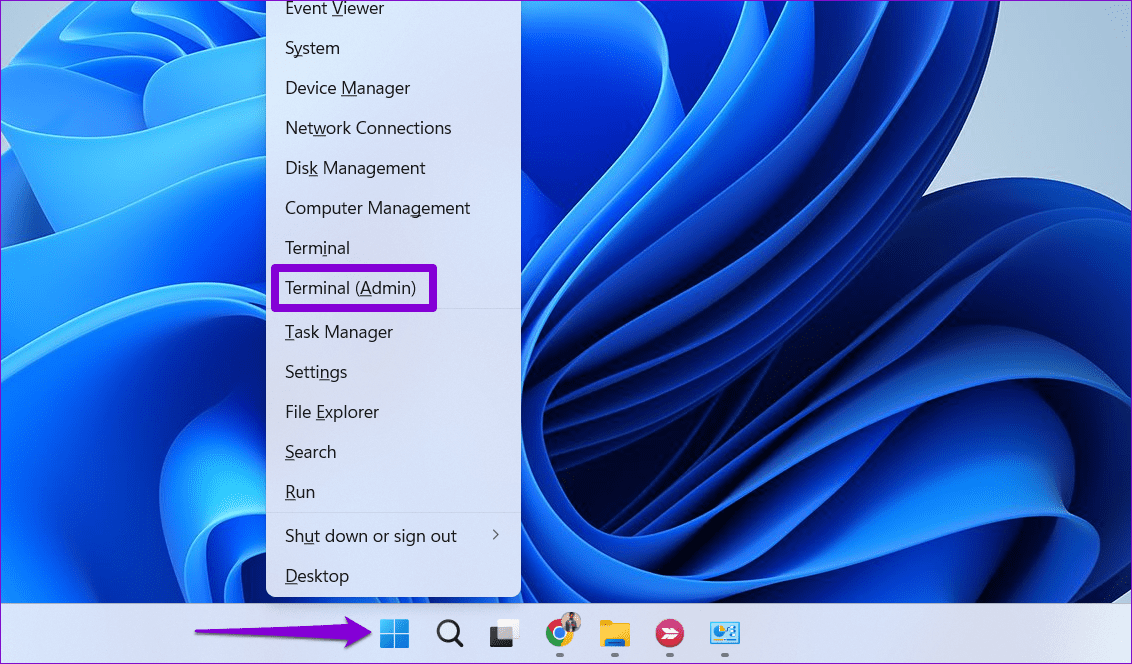
transfer 1: Proper-click on Begin icon and choose Terminal (Admin) from the record Energy Person.
Step 2: Find Sure When the management immediate seems Person account (UAC).
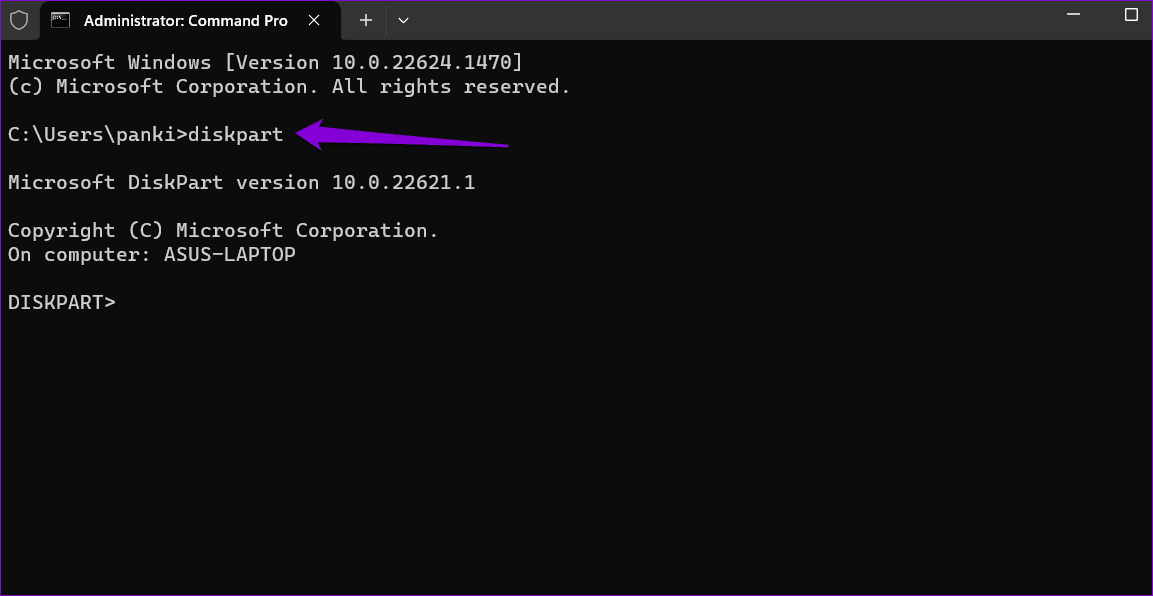
On to step 3: in Management unit Kind the next command and press Enter to entry the utility DiskPart.
diskpart
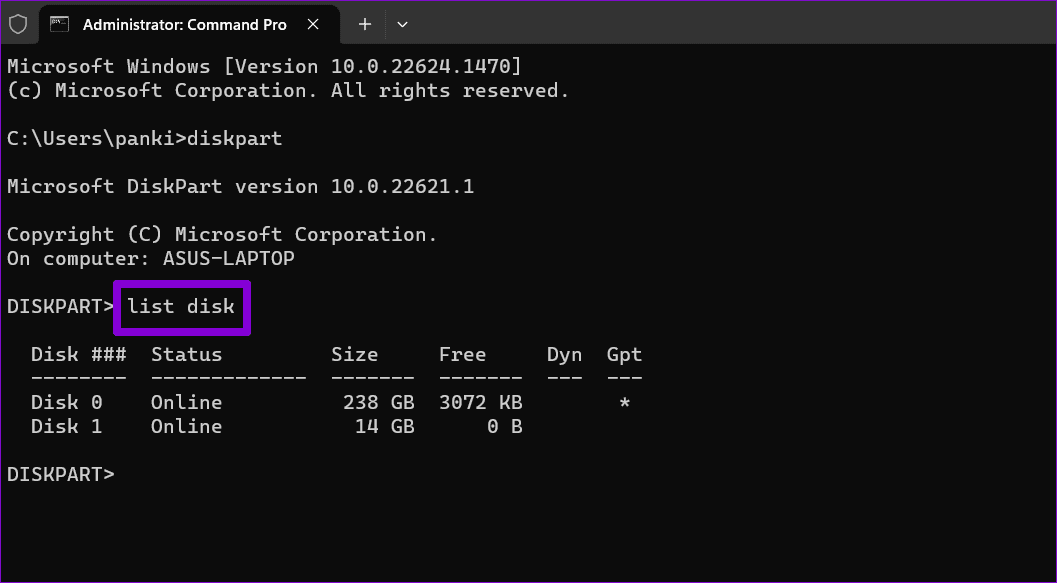
Step 4: Kind the next command and hit Enter Shows an inventory of storage units in your laptop.
record disk
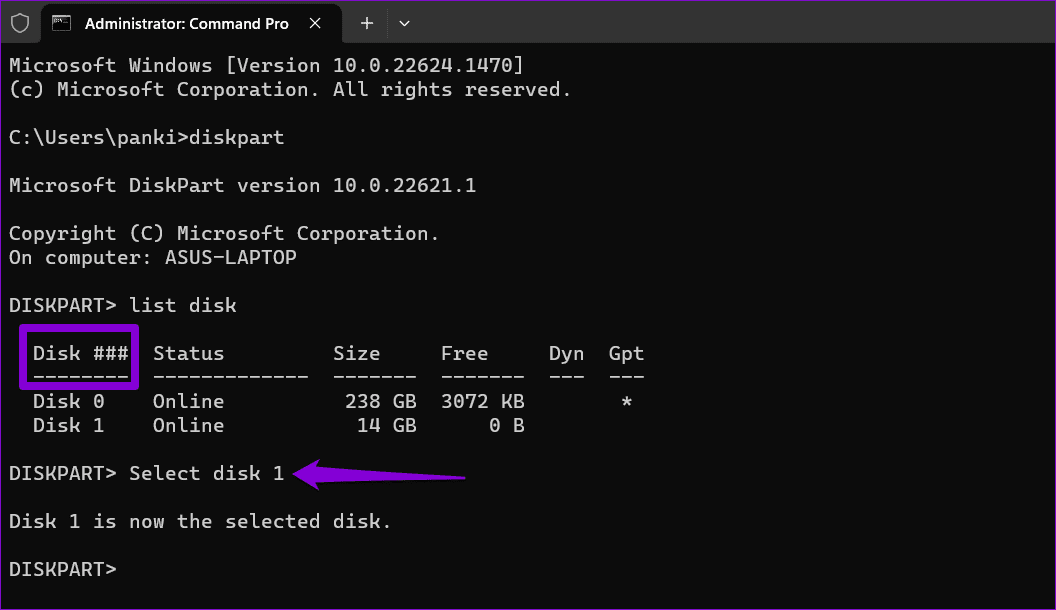
Step 5: Notice the disk quantity related to the storage system from which you need to take away the write safety. Then sort the next command and hit Enter to pick it.
Choose disk N
substitute N Within the above command with the precise quantity related to the disk.
On to step 6: Paste the next command and hit Enter To take away write safety for the chosen system:
attributes disk clear readonly
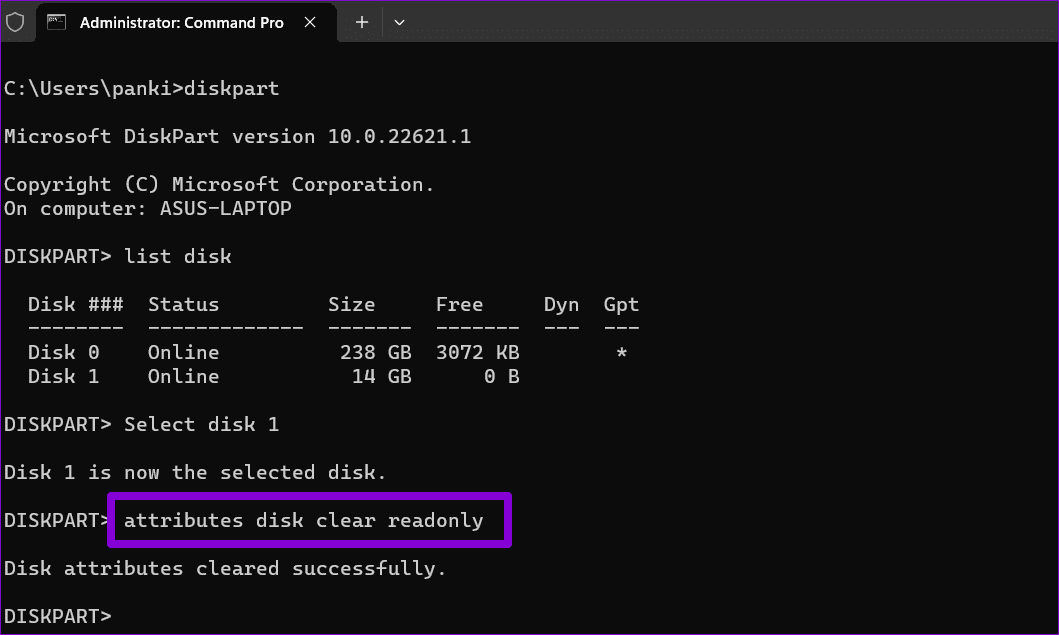
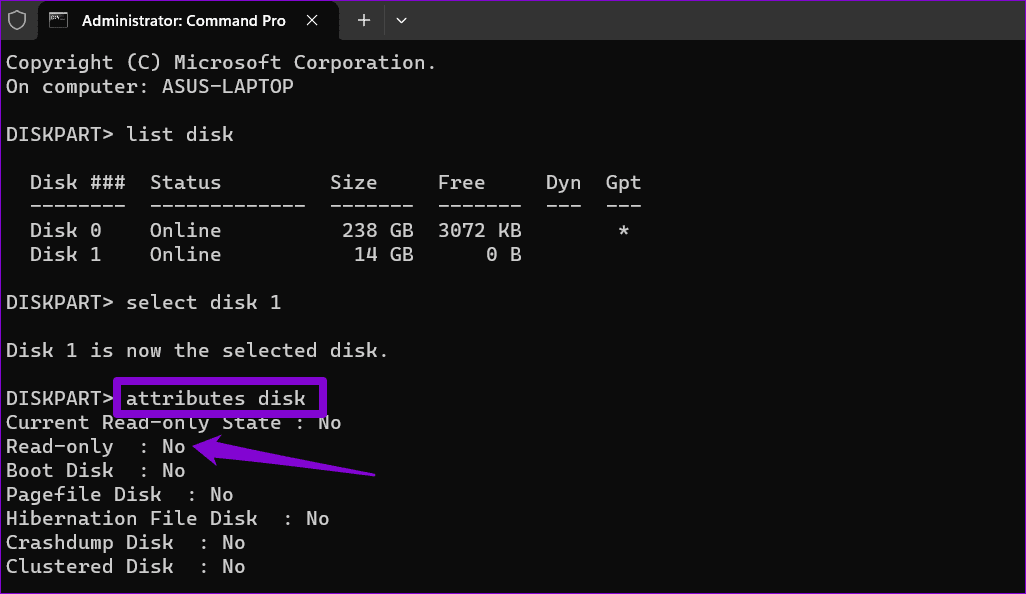
You will notice a messageDisk attributes have been erased efficientlyas soon as the method is full. To test, you possibly can run the next command and test the read-only attribute of your drive.
attributes disk
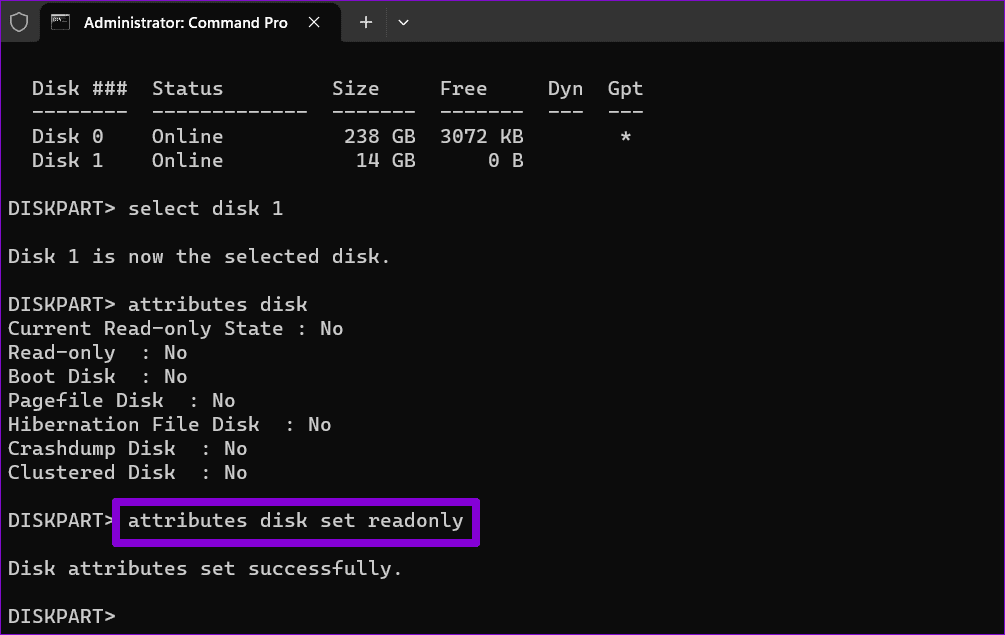
If you wish to allow write safety in your USB drive or SD card, repeat the above steps and enter this command as an alternative:
attributes disk set readonly
3. The right way to take away write safety by way of Registry Editor
When you’re feeling adventurous, you possibly can take away the write safety in your storage units by way of the Registry Editor. Not like DiskPart, this methodology permits you to disable write safety for all detachable storage units in your laptop without delay.
Making incorrect modifications to registry information can render your laptop inoperable. Therefore, it is very important comply with the steps fastidiously and again up all registry information beforehand. Alternatively, you can too create a system restore level.
After doing that, use these steps to take away write safety by way of Registry Editor.
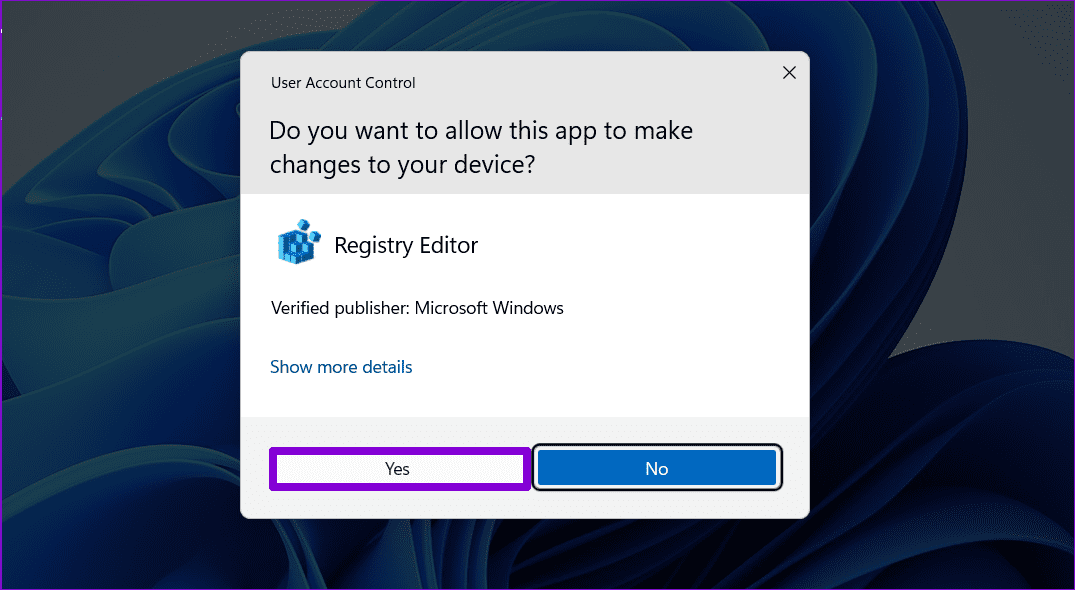
Step 1: Press a keyboard shortcut Home windows + R to open the dialog field Run. Write regedit within the field and press Enter.

Step 2: When the management immediate seems Person Account (UAC) Find Sure to comply with.
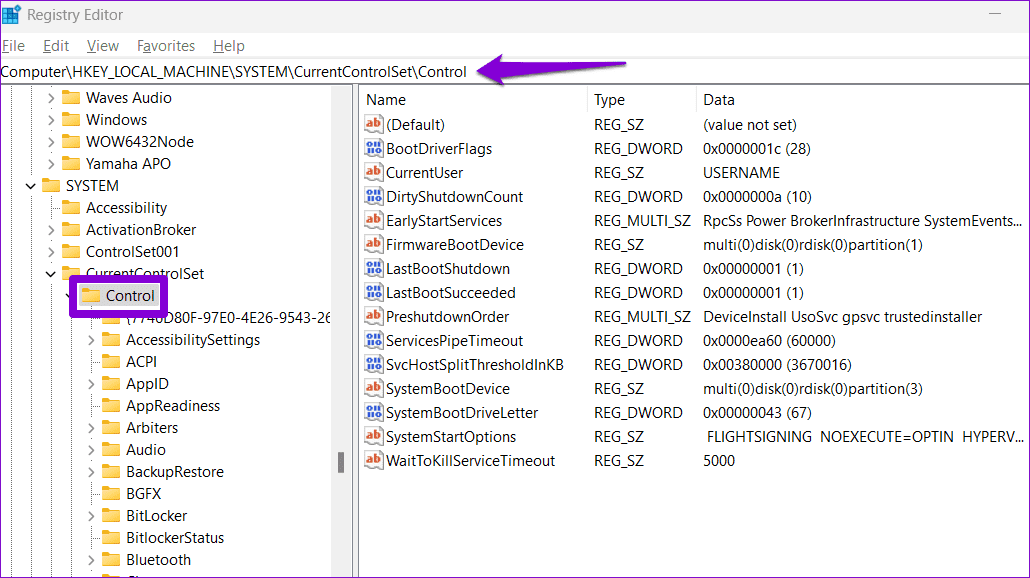
On to step 3: paste monitor Subsequent within the tackle bar on the high and press Enter.
HKEY_LOCAL_MACHINESYSTEMCurrentControlSetControl
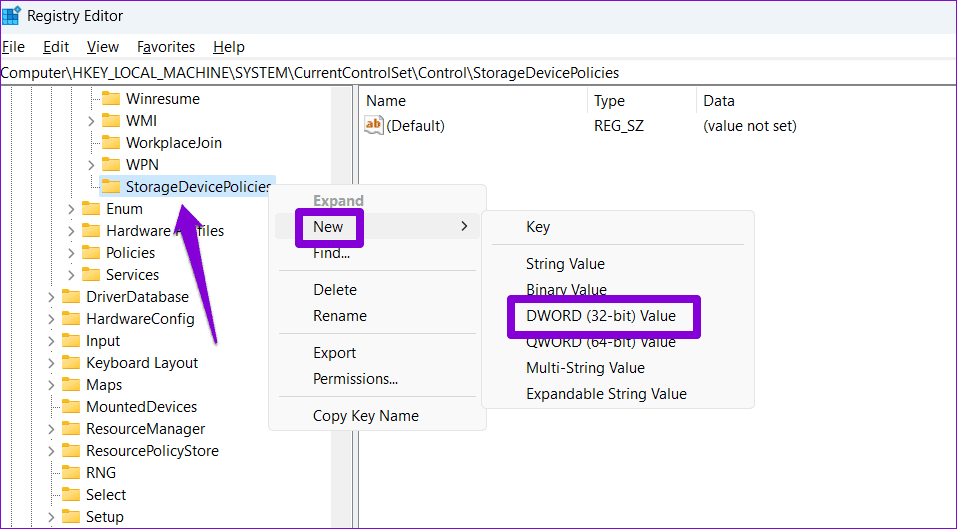
Step 4: Proper-click on the management key, and go to new , and choose a key from the submenu. Identify it StorageDevicePolicies.

Step 5: Proper-click on a key StorageDevicePolicies go to New, and choose DWORD (32-bit) worth. Identify it WriteProtect.
On to step 6: Double click on on the newly created DWORD and enter 0 within the Worth information discipline. Then click on onagree on“.
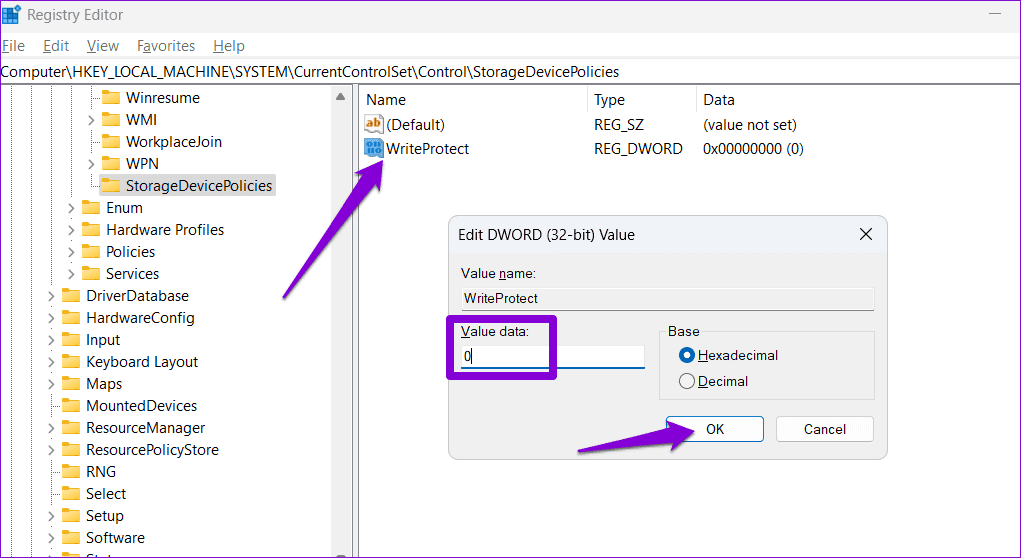
Restart your laptop afterwards for the modifications to take impact. To re-enable write safety in your storage units, repeat the above steps and set WriteProtect DWORD on 1.
No extra restrictions
One of many above options will assist take away the write safety out of your USB drive or SD card, permitting you to make use of it once more. Nevertheless, if the above strategies show ineffective, there could also be an issue together with your storage system. On this case, you will have to switch it.