Looking for a simple guide to setting up the WordPress SEOPress SEO plugin?
SEOPress is one of the most powerful SEO plugins for WordPress. It comes with all the essential features you would expect from an SEO plugin. It was launched in 2017 and has over 200,000 active installs. SEOPress has everything that can meet all the SEO-related needs of an average user.
Like other SEO plugins, SEOPress also offers free and paid versions. If you are a beginner, the free version of this plugin is sufficient for your website. The free version offers almost all important SEO settings. Even in the free version, you can remove fingerprints of this plugin from the source code using the white label feature.
If you are an advanced user and need more advanced and premium SEO features, you can choose the PRO version of SEOPress. The paid version of this plugin is cheaper than other premium SEO plugins available in the market. The cost of the paid version is only $49 per year for unlimited sites.
SEOPress user interface is very spacious and clean. You can easily enable or disable SEO features with a single click from the SEO management tab available on this plugin dashboard. It also displays some useful SEO tips on its dashboard.
It is very easy to configure the SEOPress plugin using its installation wizard. You don’t need any technical knowledge to configure the SEO features of this plugin. Just follow our step-by-step guide to complete the one-time SEOPress setup process.
In this article, we are going to share a complete tutorial to correctly configure the SEO Press SEO plugin for WordPress.
A detailed guide to correctly configure the SEO plugin SEOPress
1. Setup Wizard
After installing and activating the plugin, a new option named SEO will be added to your WordPress dashboard menu. Click on it, then the Dashboard of SEOPress plugin opens. At the top of the dashboard. you will see a banner with a welcome message and a “Begin” button. Click on Begin button to launch the SEOPress SEO plugin installation wizard.
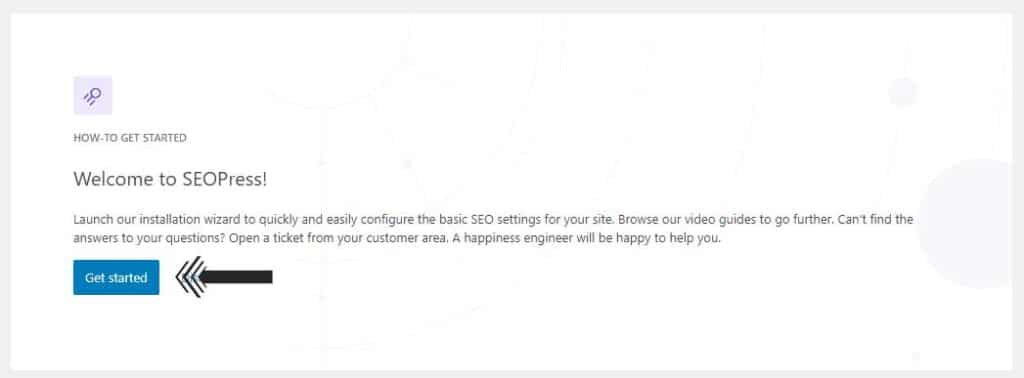
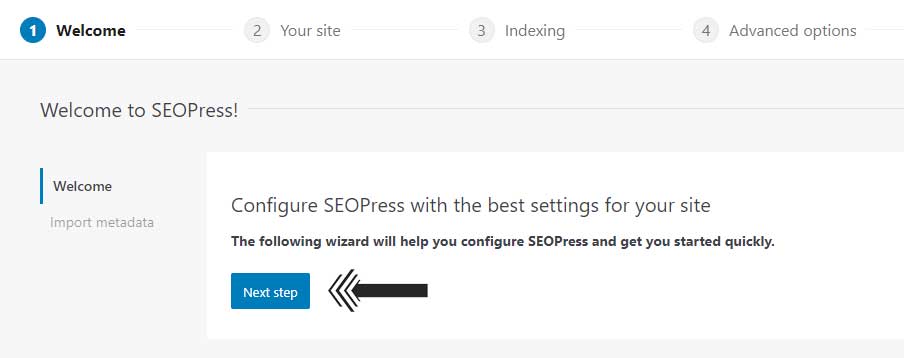
Step 1 – Welcome/Import SEO settings
On the home tab, SEOPress simply asks you to launch the setup wizard to configure your website’s SEO settings. Click on the “The next step” button to move to the next tab.
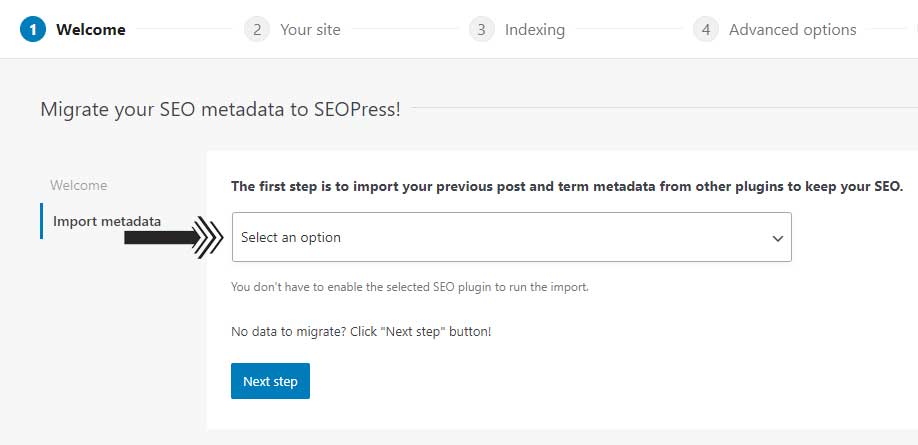
In the next tab, you can import metadata from your old SEO plugin. Select the plugin you were using previously from the drop-down menu and click on the “Migrate Now” button.
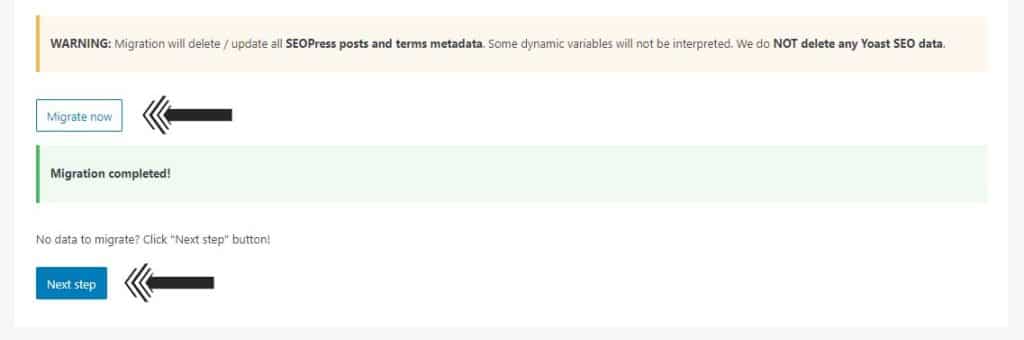
Now wait for SEOPress to import metadata from your old SEO plugin. Once the migration process is complete, you will see a “Migration complete” message. After that, you can click the “The next step” button to continue.
Step 2 – Your site and social accounts
In the next step of the setup wizard, you will be asked to provide information about yourself and your website to create knowledge graphs and title tags for Google. At the first option, you have to fill in the separator, keep it as default. On the next option, fill in your website homepage title.
Next, you will be asked to choose whether your website is owned by a person or an organization. So, select it according to your type of website. You can also disable it by selecting the “None” option.
In the next two fields, fill in the name of the person or organization and upload the person’s personal photo or organization logo. After that click on the “Save continue” button to switch to the Your Social Account tab.

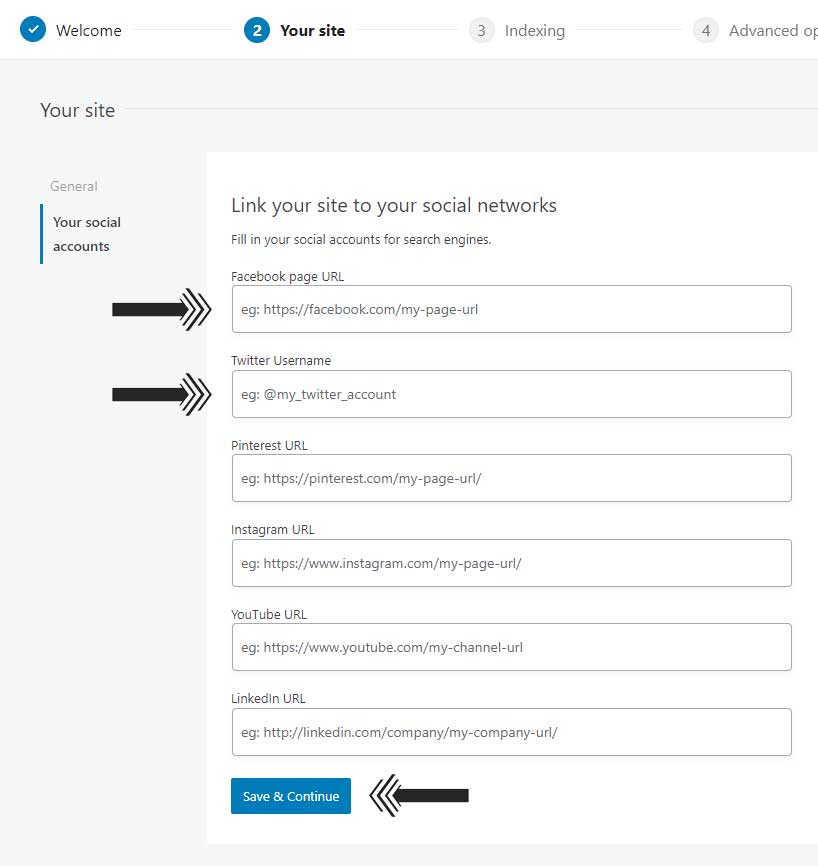
In the Your Social Media Accounts tab, there are empty fields where you can fill in links for your social media profiles and pages. If you don’t use social media or don’t want to share the profiles with search engines, you can leave them blank and click the “Save continue” button to go to the next step.
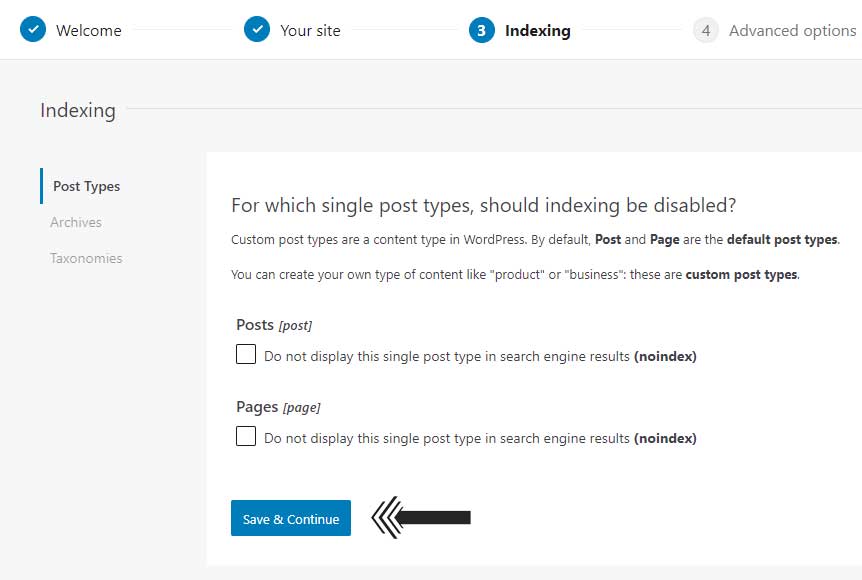
Step 3 – Indexing
In this step, you can disable the indexing of non-important pages or post types in search engines. On the Post Types tab, leave the Posts and Page options unchecked. If you enable them, search engines will not index all the articles and pages on your website. So keep everything default and click the “Save and Continue” button to move to the next tab.
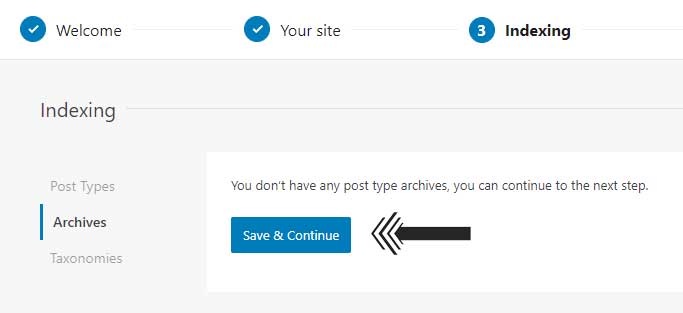
The next tab is for archive indexing, here you can disable archive indexing of post types. If your website has post type archives, just check the ones you don’t want indexed in Google. If not, you can click the “Save and Continue” button to move to the next tab.
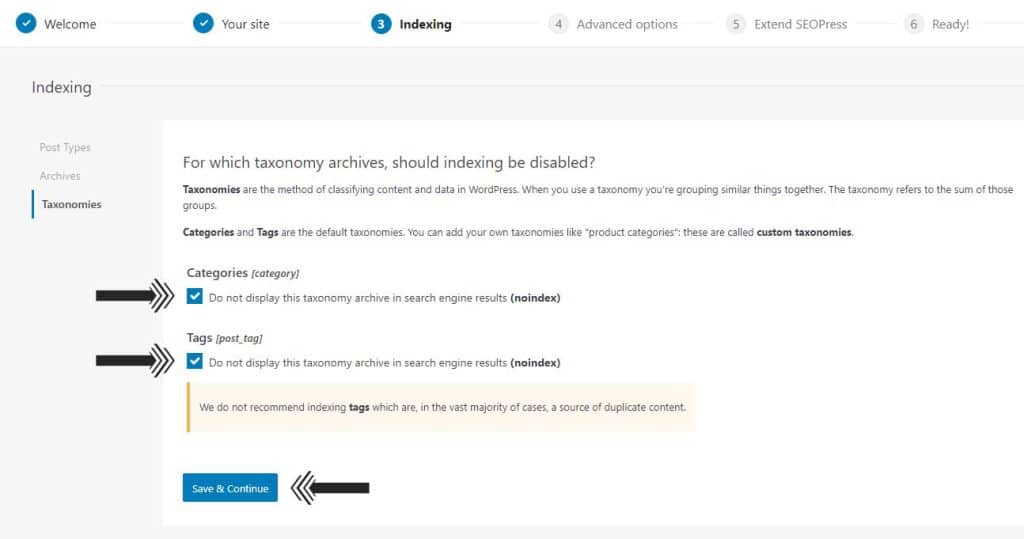
In the taxonomies tab, you get two categories of options and tags. We recommend keeping both options checked to not index them. For some websites category pages are important, if you want to index category pages just leave the box in front of the category option unchecked. But indexing tag pages is not recommended under any condition. After that click on the “Save continue” button to move forward.
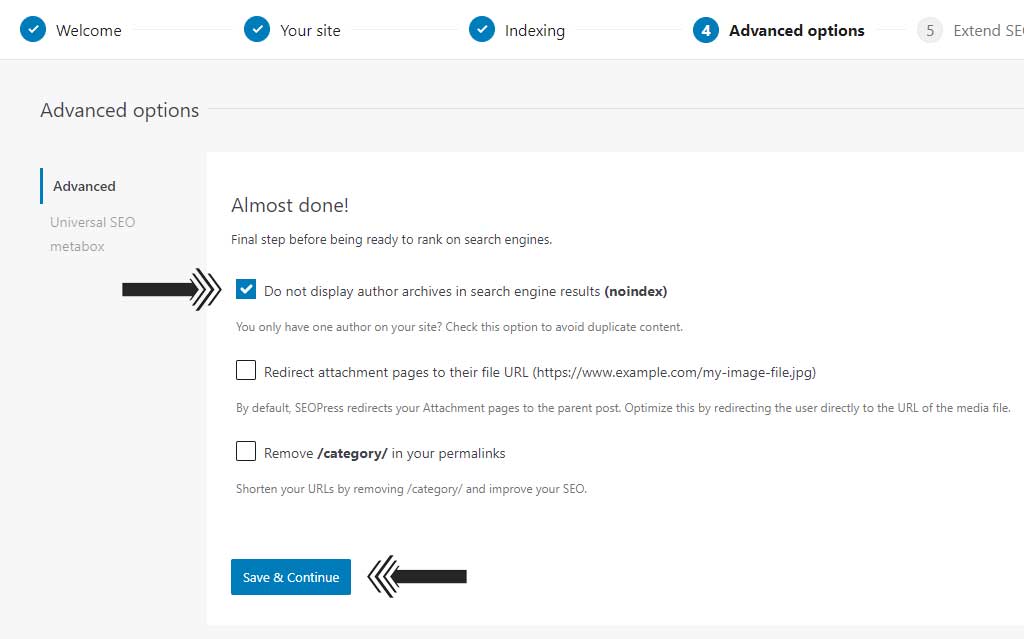
Step 4 – Advanced Options
On this page, some advanced options are available which you need to configure for better search engine ranking. Check the first option to not index author archives to avoid duplicate content.
The second option allows you to redirect attachment pages to their file URL. Leave this option unchecked, as it is better to redirect attachment pages to their parent posts. By default, SEOPress does this for you.
The third option is to remove “/category/” from category URLs on your website. If you want to remove it, check it. But, it is recommended to keep this option disabled to avoid conflicts between post URLs and category URLs.
After configuring all options, click the “Save and Continue” button for the next tab of advanced options.
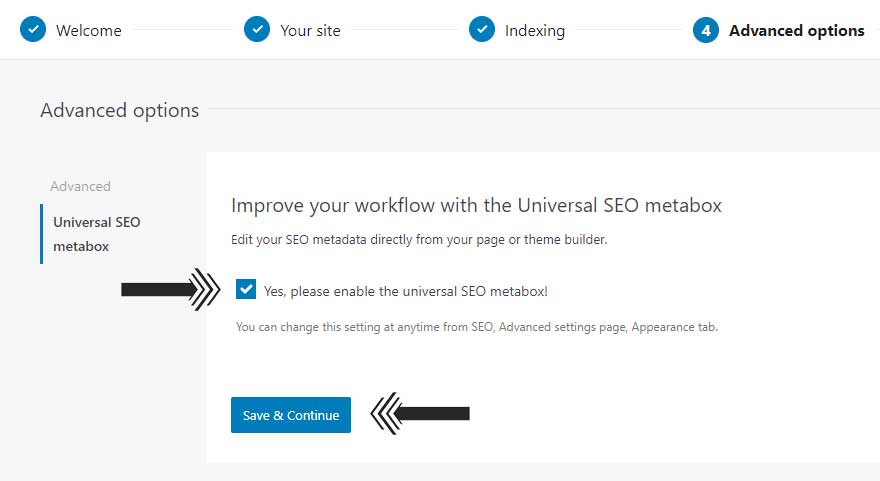
In the next tab, you can activate the Universal SEO metabox. If you want to edit your SEO metadata directly from your page or theme builder, check this option. And if you want to use the old SEO metabox as before, leave it unchecked, the choice is yours. We recommend enabling the Universal SEO metabox. So, check the box and click “Save and Continue” for the next step.
Step 5 – Extend SEOPress/Insights
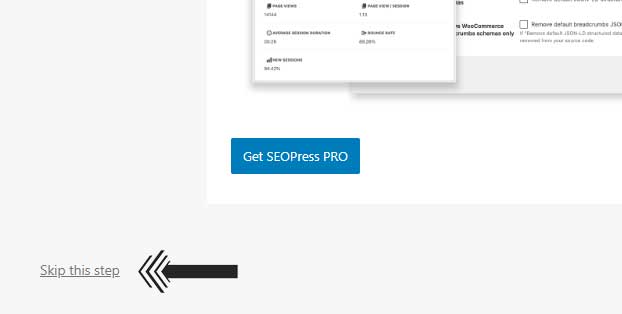
On this page, there are two tabs – PRO and Insights. In the first tab, you will be asked to purchase SEOPress Pro to unlock some premium features. If you need premium SEO features, you can purchase the PRO version of SEOPress by clicking on the “Get SEOPress Pro” button. However, if you don’t need it, just click the “Skip this step” button.
Now the second tab opens, you will be asked to purchase SEOPress Insights. SEOPress Insights is a premium tool that lets you track your website’s rankings and monitor your website’s backlinks. If you need it, click the “Get insights from SEOPress” button to buy it. If it is not necessary, click on the “Skip this step” button to move forward.
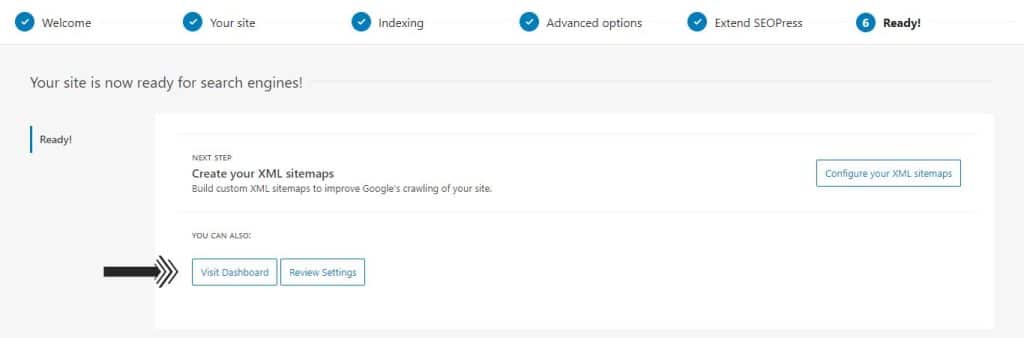
Step 6 – Ready
That’s it, this is the last page of the SEOPress setup wizard. You have successfully completed the SEOPress WordPress plugin installation wizard. Now click on the “Visit Dashboard” button to return to your site’s WordPress dashboard.