In search of a straightforward information to arrange SEOPress WordPress Search engine marketing Plugin?
SEOPress is likely one of the strongest Search engine marketing plugins for WordPress. It comes with all of the important options that you’d count on from an Search engine marketing plugin. It was launched in 2017 and has greater than 200,000+ lively installations. SEOPress has the whole lot that may fulfill all of the Search engine marketing-related wants of a median consumer.
Like different Search engine marketing plugins, SEOPress additionally has each free and paid variations. In the event you’re a newbie, then this plugin’s free model is sufficient on your web site. The free model presents virtually all necessary Search engine marketing settings. Even within the free model, you’ll be able to take away the footprints of this plugin from the supply code utilizing the white label characteristic.
In the event you’re an influence consumer and wish extra superior and premium Search engine marketing options then you’ll be able to select the PRO model of SEOPress. The paid model of this plugin is cheaper than different premium Search engine marketing plugins out there out there. The price of the paid model is simply $49 per 12 months for limitless websites.
The consumer interface of SEOPress could be very spacious and clear. You’ll be able to simply allow or disable Search engine marketing options with only one click on from the Search engine marketing administration tab out there on this plugin Dashboard. It additionally reveals some useful Search engine marketing recommendations on its dashboard.
It is vitally simple to configure the SEOPress plugin with the assistance of its set up wizard. You don’t want any technical information to configure the Search engine marketing options of this plugin. Simply comply with our step-by-step information to finish the one-time setup strategy of SEOPress.
On this article, we’re going to share an entire tutorial to arrange the SEOPress Search engine marketing plugin for WordPress appropriately.
A Detailed Information to Setup SEOPress Search engine marketing Plugin Correctly
1. Set up Wizard
After the plugin set up and activation, a brand new choice named “Search engine marketing” will likely be added to your WordPress dashboard menu. Click on on it, then the Dashboard of SEOPress plugin opens. On the highest of the dashboard. you will note a banner with a welcome message and a “Get began” button. Click on on Get began button to launch the set up wizard of the SEOPress Search engine marketing plugin.

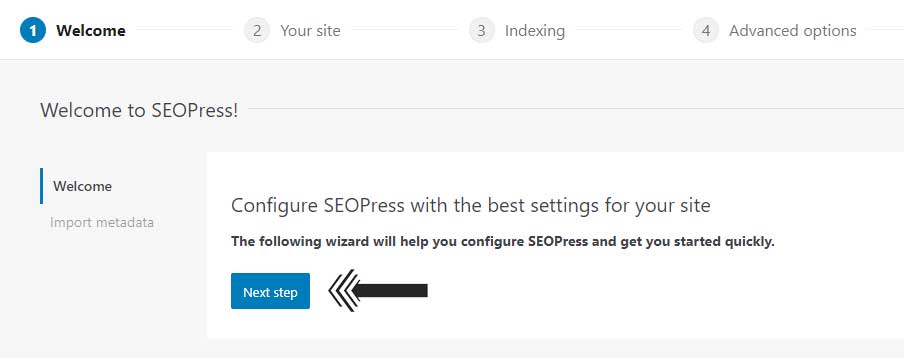
Step 1 – Welcome/Import Search engine marketing Settings
On the welcome tab, SEOPress simply asks you to begin the setup wizard to configure the Search engine marketing settings of your web site. Click on on the “Subsequent step” button to maneuver to the subsequent tab.
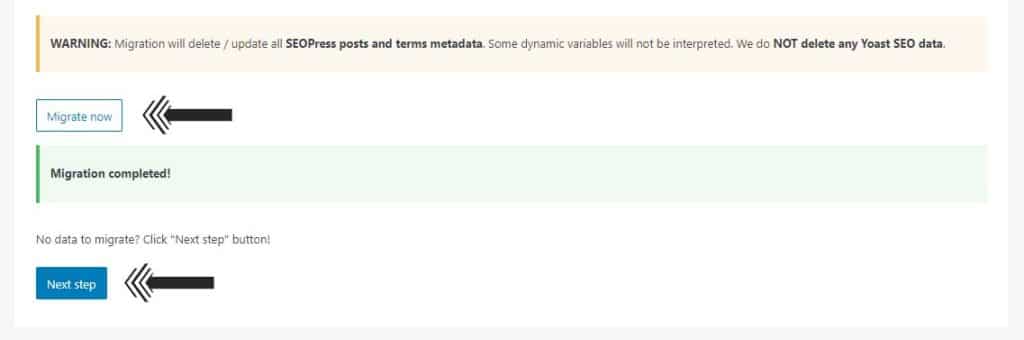
On the subsequent tab, you’ll be able to import metadata out of your earlier Search engine marketing plugin. Choose the plugin you have been utilizing beforehand from the drop-down menu and click on on the “Migrate now” button.
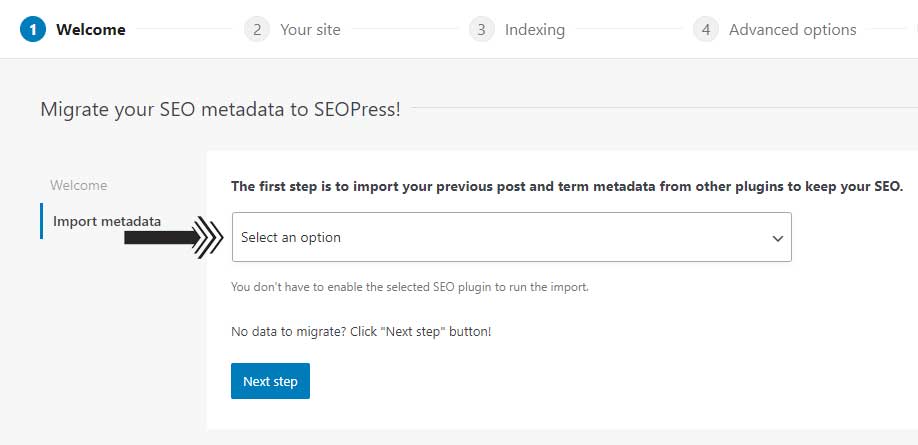
Now, wait until SEOPress imports metadata out of your previous Search engine marketing plugin. As soon as the migration course of is accomplished, you will note a “Migration accomplished” message. After that, you’ll be able to click on on the “Subsequent step” button to proceed.
Step 2 – Your Web site and Social Accounts
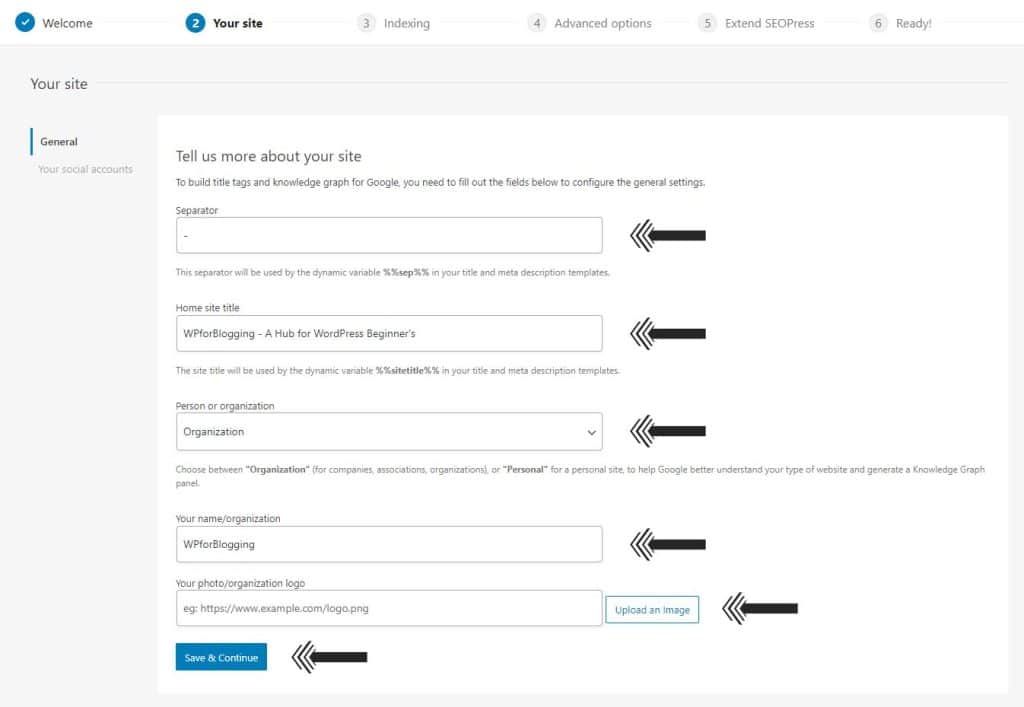
Within the subsequent step of the set up wizard, you’ll be requested to offer details about you and your web site to construct information graphs and title tags for Google. On the first choice, you need to fill the separator, hold it default. On the subsequent choice replenish the title of your web site homepage.
Subsequent, you may be requested to decide on whether or not your web site belongs to an individual or a company. So, choose it in response to your web site kind. You too can disable this by choosing the “None” choice.
On the subsequent two fields, replenish the individual or group title and add the non-public photograph of the individual or the brand of the group. After that, click on on the “Save & Proceed” button to maneuver to the Your social account tab.
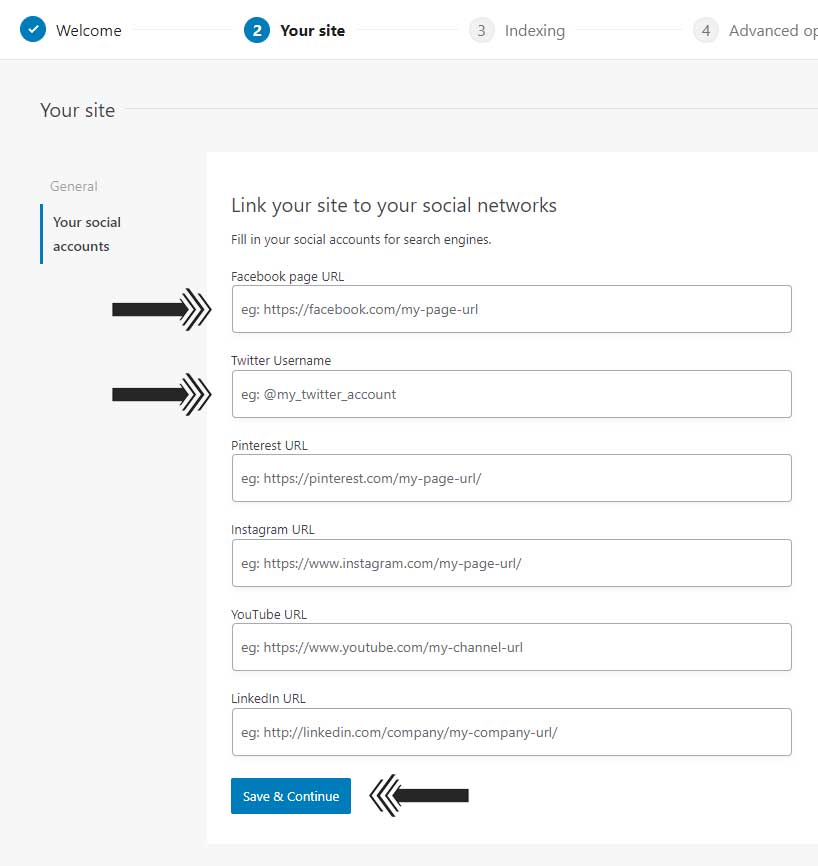
On the Your social media accounts tab, there are clean fields the place you’ll be able to fill within the hyperlinks of your social media profiles and pages. In the event you don’t use social media or don’t need to share the profiles with search engines like google and yahoo, then you’ll be able to depart them empty and click on on the “Save & Proceed” button to maneuver to the subsequent step.
Step 3 – Indexing
On this step, you’ll be able to disable the indexing of non-important pages or publish varieties in search engines like google and yahoo. On the publish varieties tab, hold each posts and web page choices unticked. In the event you allow them, search engines like google and yahoo is not going to index the all posts and pages of your web site. So, hold the whole lot default and click on on the “Save and Proceed” button to maneuver to the subsequent tab.

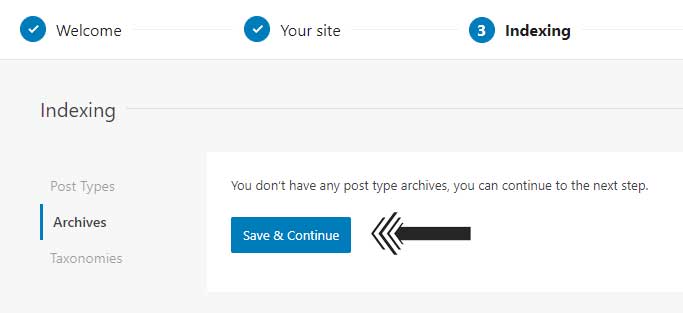
The following tab is for Archives indexing, right here you’ll be able to disable the indexing of publish varieties archives. In case your web site has post-type archives, then simply tick these whom you don’t need to get listed in Google. If not, then you’ll be able to click on on the “Save and Proceed” button to proceed to the subsequent tab.
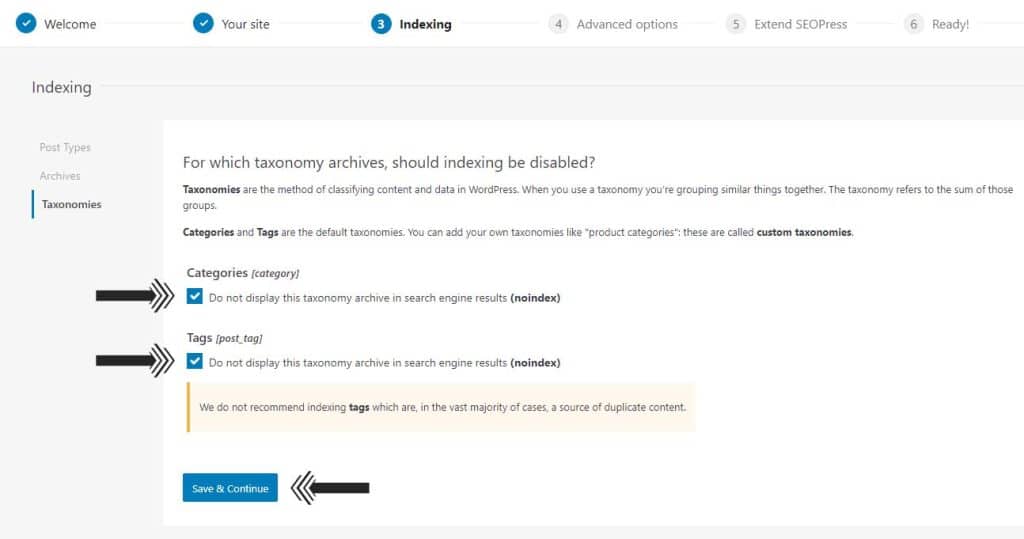
On the taxonomies tab, you get two choices classes and tags. We advocate protecting each choices ticked to no-index them. For some web sites, class pages are necessary, if you wish to index class pages, then simply hold the field in entrance of the class choice unticked. However tags web page indexing shouldn’t be beneficial in any situation. After that, click on on the “Save & Proceed” button to maneuver forward.
Step 4 – Superior Choices
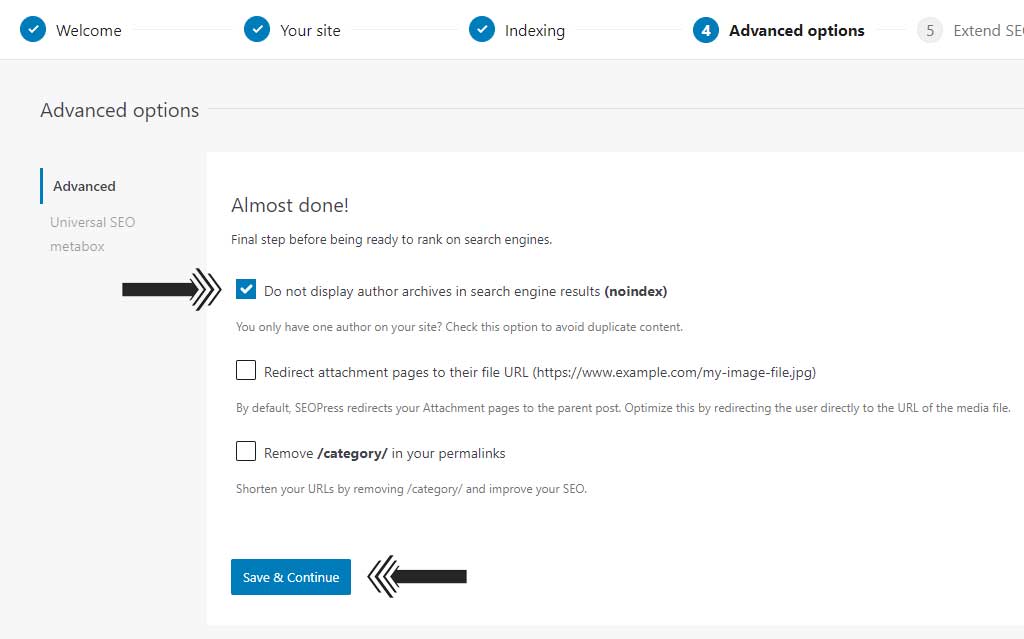
On this web page, there are some superior choices out there that you need to configure for higher search engine rating. Tick the primary choice to noindex creator archives to keep away from duplicate content material.
The second choice means that you can redirect attachment pages to their file URL. Hold this unchecked, as a result of it’s higher to redirect attachment pages to their mum or dad posts. By default, SEOPress does this for you.
The third choice is for eradicating “/class/” out of your web site class URLs. If you wish to take away it, then tick it. However, It is suggested to maintain this selection disabled to keep away from battle between publish URLs and Class URLs.
After organising all choices, click on on the “Save and Proceed” button for the subsequent tab of superior choices.
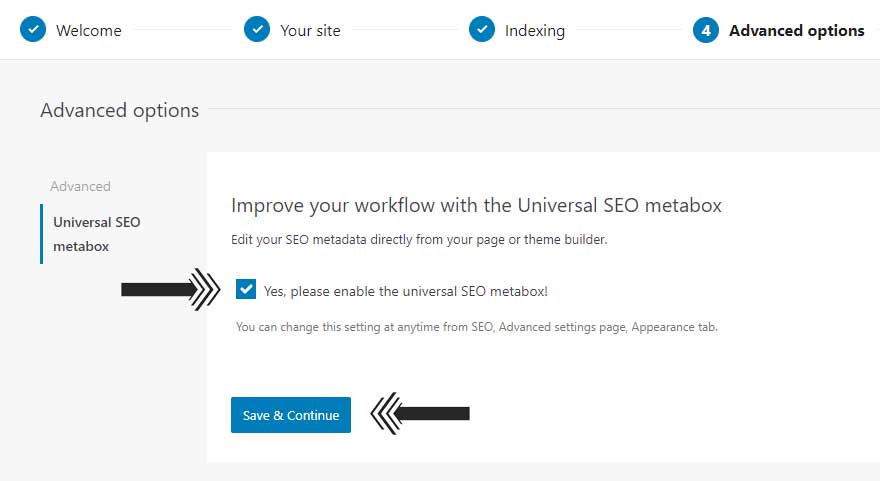
On the subsequent tab, you’ll be able to allow the Common Search engine marketing metabox. If you wish to edit your Search engine marketing metadata straight out of your web page or theme builder, then tick this selection. And if you wish to use previous Search engine marketing metabox like earlier than, then hold it unchecked, the selection is yours. We advocate you allow the Common Search engine marketing metabox. So, tick the field and click on on “Save and Proceed” for the subsequent step.
Step 5 – Lengthen SEOPress/Insights
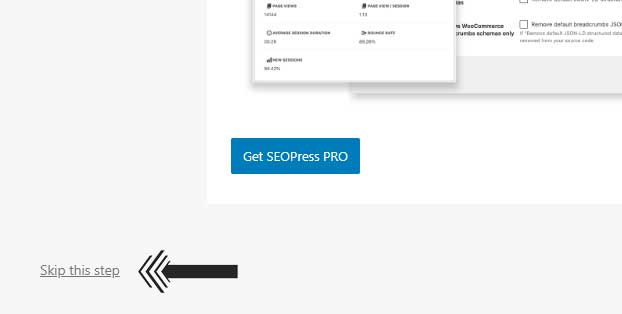
On this web page, there are two tabs – PRO and Insights. Within the first tab, you’ll be requested to purchase SEOPress Professional to unlock some premium options. In the event you want premium Search engine marketing options, then you should buy the PRO model of SEOPress by clicking on the “Get SEOPress Professional” button. Nevertheless, when you don’t want it, simply click on on the “Skip this step” button.
Now the second tab opens, right here you’ll be requested to purchase SEOPress Insights. SEOPress Insights is a premium instrument that means that you can monitor rating and monitor the backlinks of your web site. In the event you want it, then click on the “Get SEOPress Insights” button to buy it. If not required, then click on on the “Skip this step” button to maneuver ahead.
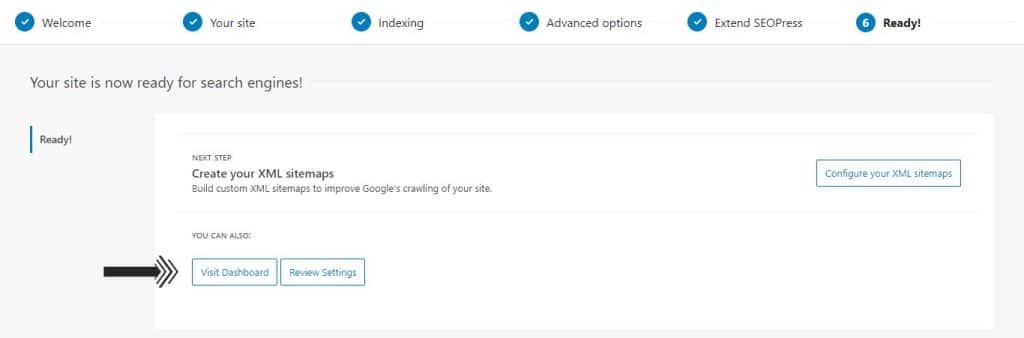
Step 6 – Prepared
That’s it, that is the ultimate web page of the SEOPress set up wizard. You could have efficiently accomplished the setup wizard of the SEOPress WordPress plugin. Now, click on on the “Go to Dashboard” button to get again to your website’s WordPress Dashboard.